Some stories are best started at the end. One of the issues with baking every weekend is how to consume the produce. If I keep the pace up, both the husband and I are set to be either very popular at work or get even more portly than we already are, not to mention all those middle aged health issues like blood pressure and cholesterol. However this weekend our friends Paul and Bernard are coming for Kaffee und Kuchen to sample this week’s challenge, which if you have read the blog already you will know is the Kardinalschnitte (or the Cardinal Slice in English). So instead of Mathilde, Ottilie, Marie und Liliane from the Udo Juergens song, Aber mit Sahne, it was Trevor, Stephen, Paul and Bernard sat in the Kondotorei (well actually our Conservatory), schwatzen and schmatzen (chatting and munching) through a couple of slices each over coffee, and because it is Valentines Day, a glass of pink champagne.


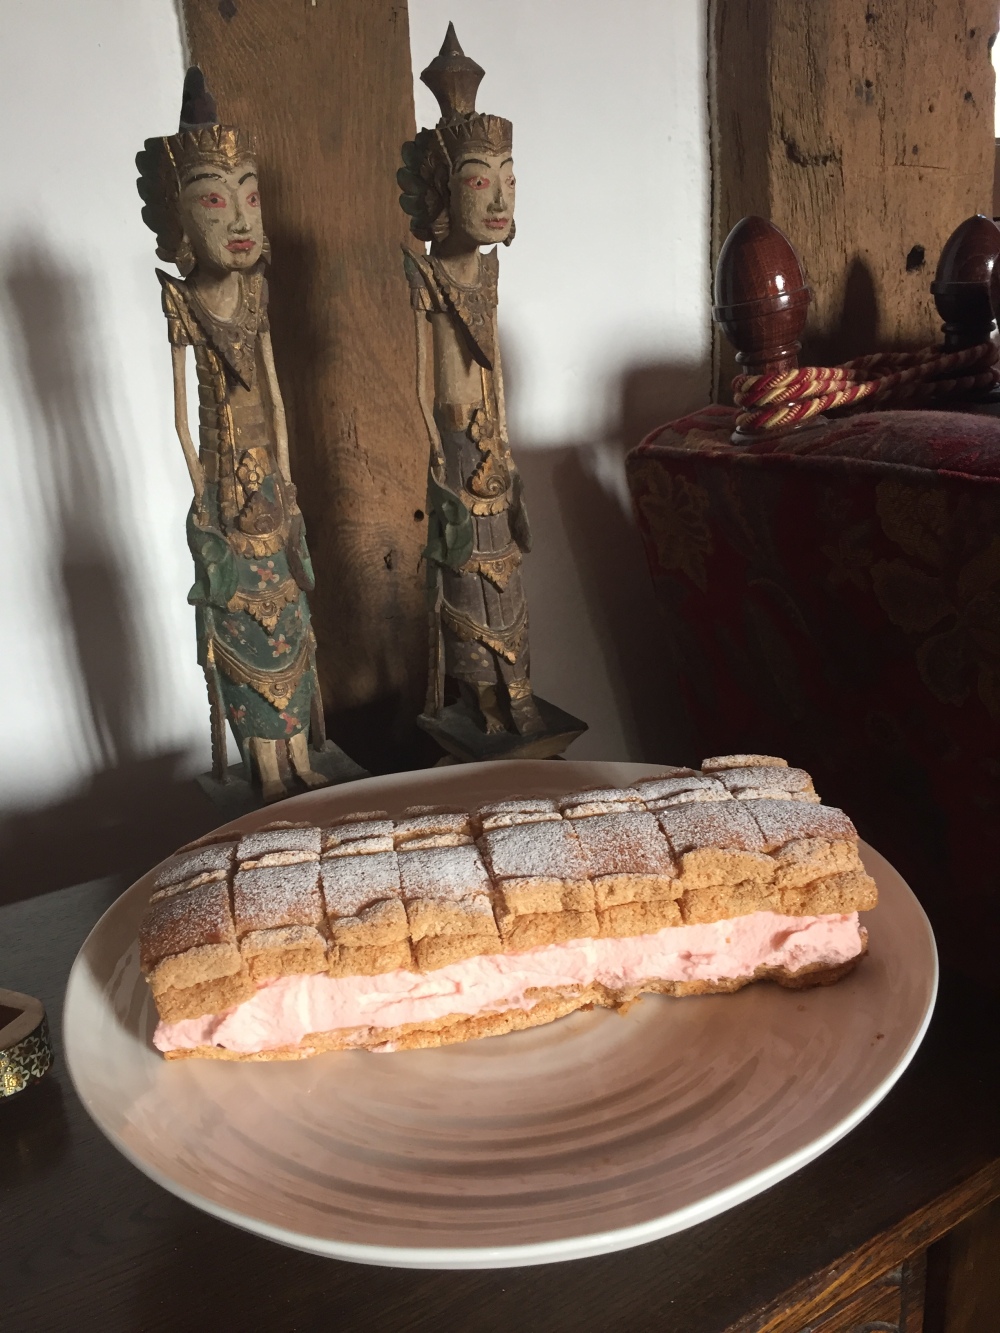
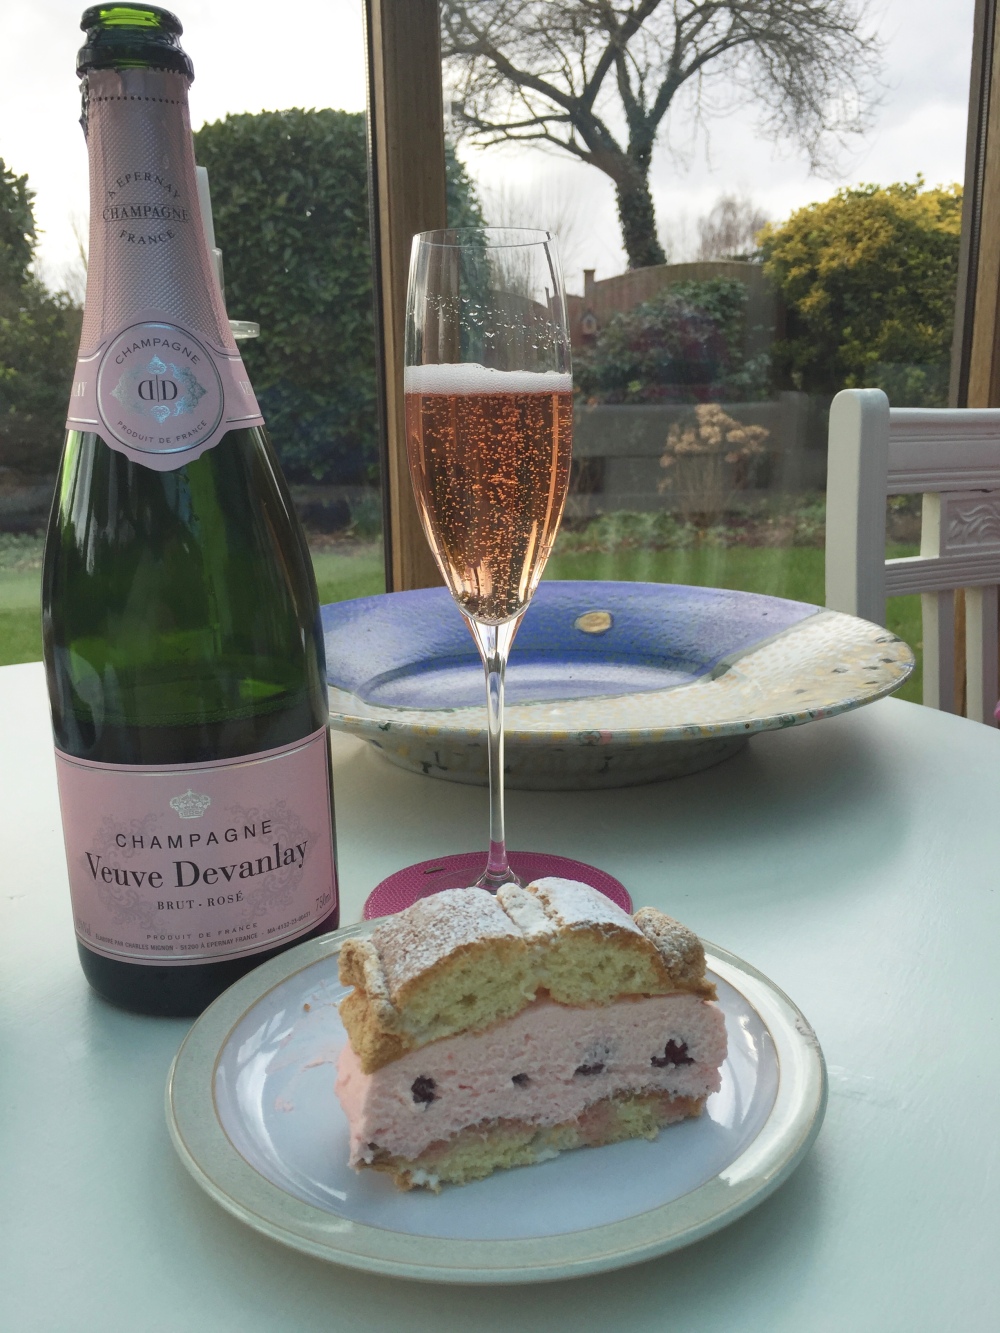
As you see in the picture, the Cardinal Slice that was created didn’t quite go to plan. So runs the law of baking! Everything was prepared for a three tier Kardinalschnitte with a plain cream one with a valentines day twist and a coffee one for interest. What we ended with is this little beauty which as you can see is only 2 tiers and does not have a coffee flavouring in sight.
What went wrong with the plan? Well firstly I think I made the sponge and meringue slices a little small – read the method on that one. Then I ran out of cream because I over whipped my first batch partly because I was tipping Himbeergeist (raspberry schnapps – yum) in the cream to get a different more adult flavour which meant I thought it wasn’t stiff yet (there go the double entendres again) and I am not used to whipping cream which does not go as firm as double cream. Then I realised my adaptation of whole raspberries would have made the cake slices ridiculously tall and at severe risk of heading south from the Tyrol to Pisa. So the decision was to adapt a little, and the good news is I have 2 slice layers in the freezer for another day – hurrah!
So the final product is a 2 tier slice, with light pink cream and whole raspberries in honour of Valentine’s Day. And what did our tasters think? Well the unananimous opinion was very good. Despite being rammed with whipped cream, this cake is light as a feather. The meringue has a third of the sugar of normal meringue, and the sponge is nearly all egg yolk, and the addition of raspberries adds an acidic cut to the cream and sugar, that I think makes the cake. If I was being hyper critical the meringue should have been piped wider as it almost disappeared into the sponge. However I am rather pleased with the result and this one will definitely feature again in my cannon of baking.
So how do you make this? It is not a straightforward cake, more because of all the processes than any particular technical baking requirements, so pay particular attention to the method. The key is preparation:
- have all your ingredients for the meringue and sponge weighed out and waiting
- you need plenty of piping bags (at least 4) and preferably the larger ones the supermarkets don’t sell
- don’t skimp with preparing the baking sheets as detailed in the method
- decide on the type of construction (2 layer/wide or narrow/3 layer) in advance
- divide your mixture evenly into piping bags based on the type of construction
- and don’t forget this has to chill and set, so after the 2-3 hours of work making it, allow at least 4 hours before it will be ready to eat
The Recipe (courtesy of Hanuma Kocht)
This recipe will make 2 medium sized 2 tier Schnitte’s, or one very wide 2 tier one, or one narrower 3 tier one. For the cream filling you need to be a bit flexible on quantities. I found I didn’t have enough, so would recommend you have available a bit more than the recipe.
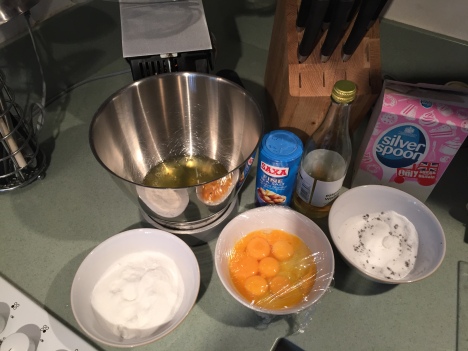
Meringue (or Snowmass as the Austrians call it – I think that word is going stick)
- 7 medium egg whites
- 150g caster Sugar
- Pinch of salt
- 1tsp white wine vinegar
The Genoise Sponge
- 2 medium eggs
- 5 egg yolks
- 70g caster sugar
- Seeds from one vanilla pod (or 1 tsp Vanilla Extract – don’t touch Vanilla Essence)
- 80g plain flour
- 1 grated lemon zest
- Pinch of Baking Powder (a Messerspitz in German – a knife tip)
- Icing sugar for dusting at the end
Cream Filling (for the fruity version I did)
- 400g whipping cream
- I always weigh my liquids – the beauty of metric is that for most liquids 1g = 1 ml = 1 cubic mm – though I gather this actually depends on density of the liquid and atmospheric pressure on the day – but this is baking not science. All the same you have to love the metric system – damn clever those french revolutionaries were though the concept was English (tout ca change) – this link is an interesting read for the history geeks amongst you.
- You may want to mix it with double cream to get a firmer set though with the gelatine in the mix it is not really necessary (I have a bit of research to do on the difference between the 2 creams)
- 50g icing sugar
- Seeds of one vanilla pod (if doing plain cream and jam)
- Jam or fruit according to your personal taste
- 1 1/2 teaspoons powdered gelatine (and a liquid of your choice to dissolve it)
OR Coffee Filling
- 30 ml hot water or espresso
- 2tsp of instant coffee if you don’t espresso
- 30g powdered gelatine
- 50 g icing sugar
- 400g whipping cream
- Rum to flavour
The Method
Preheat your oven to 160C (140C fan) – sorry no idea on gas.
Preparing the Baking Sheets
You are piping the meringue and sponge mixture next to each other and the end product is stacked on top of each other so you need to get them the same size. You also need to decide whether you are going for small or wide 2 tier, or medium sized 3 tier and this affects the way you set up your sheet.

- Grease 2 baking sheets and cover with baking parchment
- Depending on the planned cake construction cut out strips of baking parchment
- For a wide 2 tier cake- 2 strips 30cm long by 18 cm wide
- For 2 narrow 2 tier cakes – 4 strips 30cm long by 8 cm wide
- For a single 3 tier cake – 3 strips 30cm long 12cm wide
- Grease the back of these and lay these on the baking tray leaving a wide gap as the mixture expands – these provide your guidelines for piping.
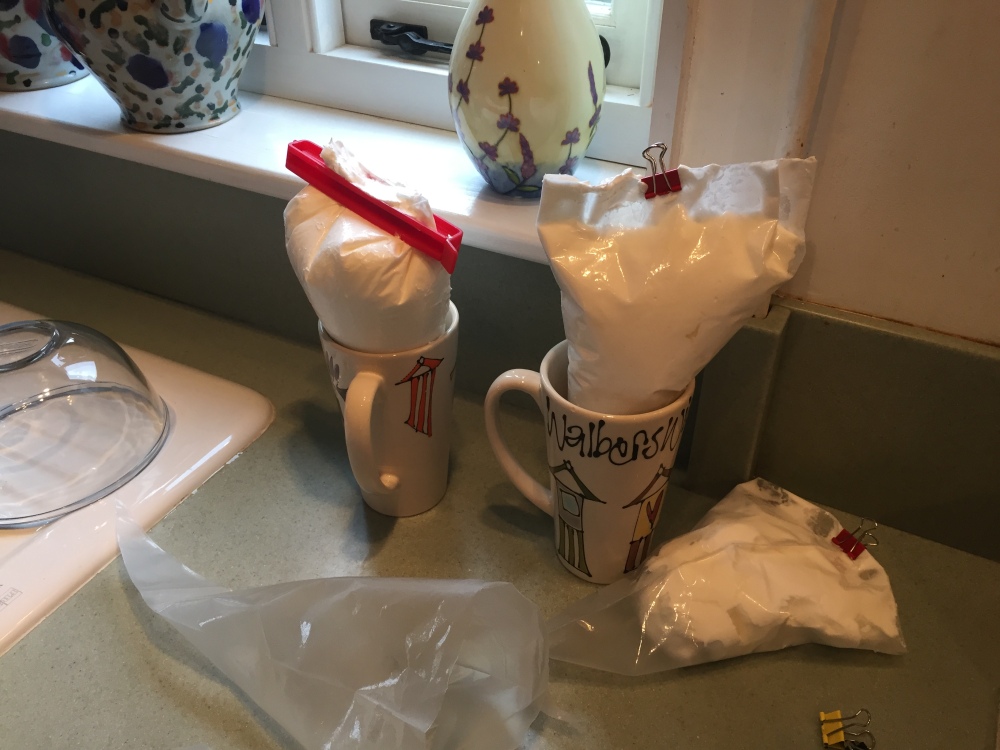
Preparing the Piping bags
- depending on the construction you have decided you will need a different sized piping nozzle. I use disposable ones as I find them easier to deal with and more flexible
- For a wide 2 tier cake – 2cm nozzle
- For 2 narrow 2 tier cakes- 1cm nozzle
- For a single 3 tier cake – 1.5cm nozzle
Make the Meringue
- Whisk the egg whites until foaming
- mix the sugar and salt together and add one third at a time
- add vanilla and vinegar
- whisk to just stiff peaks
- fill the piping bags ideally with an even mix of the batter per layer
Make the Sponge
- put the eggs, sugar, vanilla, lemon zest in a bowl
- whisk until firm – you need to be able to create a ribbon of batter that initially holds its shape before sinking back into the batter
- sift the flour and baking powder together and fold into the mixture
- fill piping bags ideally with an even mix of the batter per layer

To make the Sponge and Meringue Layers
- pipe 3 rows of meringue. Be generous in our piping – as you can see I had to go back over the original, but what you actually want to achieve is one smooth generous pipe using up the bag for that layer (this is why dividing it equally into bags is so helpful)
- fill in the end to stop the sponge batter coming out as this is much more liquid (thank you Elma of that tip)
- bake for 30 minutes but check them after 25
- they need to be light golden – my ones on the top tray took on a little too much colour as you can see


- allow to cool
- some recipes now advocate freezing them for an hour at this stage to make the slices easier to handle – I did this but I am not sure it is necessary
- cut the baking sheet in half to separate the slices
- lay a baking sheet on the work surface
- turn the slice on top of it and gently peel off the baking parchment
- these things are light as a feather so take care with this – do it gently and keep close to the surface as you peel back


Make the stabilised whipped cream
If you have read my post about preparing for this bake you will know I got into a panic about a German ingredient called Sahnesteif, used to stiffen whipped cream so it holds and stores better. In the absence of the magic ingredient I have used gelatine – 1tsp per 250g of cream.
- dissolve the gelatine in the liquid of choice
- zap in microwave to make sure it is fully dissolved
- whip the cream until just going stiff
- add colouring should you wish to and stir in to check colour
- pour in the melted gelatine
- add alcoholic favouring should you wish but not too much or it will loosen the cream too much
- whisk until stiff
Don’t over colour and whisk like my first batch (picture on the left) otherwise you get a somewhat vivid finish and a grainy mess that has to go in the bin


Start to assemble
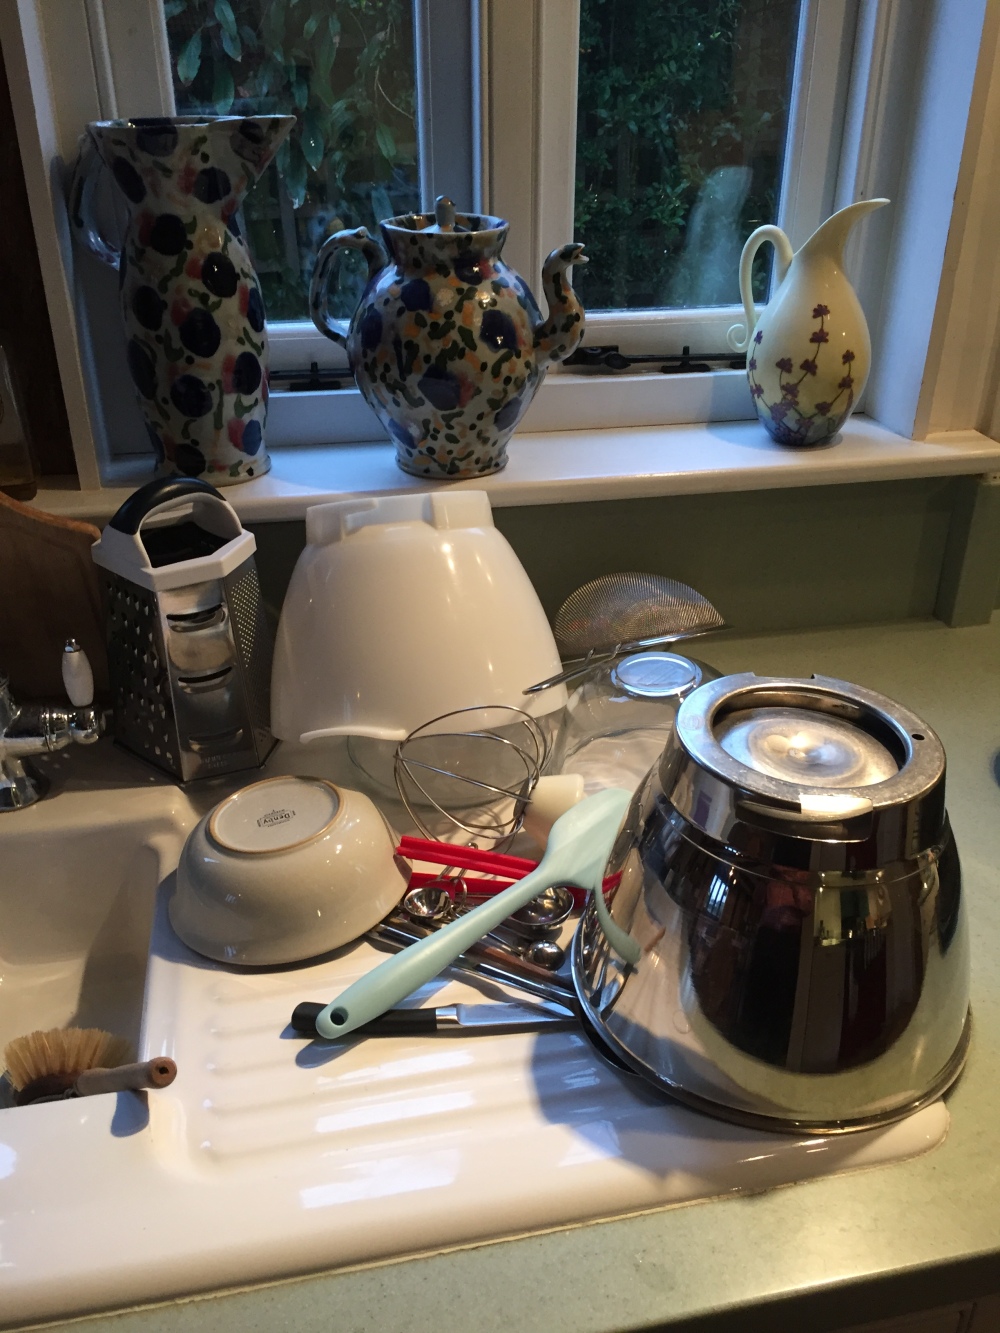
Well actually the next stage is to wash up. The husband is most picky on this one and always comments on the amount of washing up baking seems to generate.
But onwards……
- choose the best slice for your top layer
- lay on a fresh piece of parchment
- divide it into portion sized slices (about 4cm each) but leave laid out as a single layer and set aside
- take your chosen bottom layer and lay on parchment paper
- for my fruity variety
- put some of the whipped on the slice
- put on fruit of choice carefully lining up by serving slice (to do this I laid my top slice next to the slice being assembled to line everything up)
- cover with remaining cream making a nice neat block of cream (this is a teutonic recipe after all)
- place the top slice on the cream
- neaten off
- AND now chill in the fridge for 4 hours


To serve
- dust with icing sugar
- make coffee
- invite friends
- ENJOY!

Jeez, I just made a fennel sourdough loaf and felt smug enough but reading this, I am exhausted.
LikeLike
Stephen isn’t misleading you either; it was wonderful!
LikeLike
Goodness me- it was complicated! But the result looks great and I’m glad you and your friends enjoyed it!
LikeLike
Hi Stephen 🙂 It took me a while to answer…but here I am 😉 Thanks a lot for mentioning me and my blog, I’m glad to hear that project “Kardinalschnitte” was successful. I wish you good luck and success with this wonderful blog. It’s obvious that you’re making an effort to describe every recipe as precisely as possible. That’s why I’ll visit this blog again 🙂
LikeLike
That’s very kind Elma – do spread the word – and make any suggestions for a bake. I might try some of your Bosnian breads soon.
LikeLike
Stephen, I really am enjoying your blog. This one sounded tricky and I’m inspired to give it a go…although I made a rookie mistake for my dinner party last night forgetting to add baking powder to my sponge (despite baking for over 5 years!) so perhaps I should stick to the basics for a little longer!
LikeLike
Thank you Stephen – and forgetting an ingredient is done by all of us ! Give it a go and see how you get on.
LikeLike