My niece had her First Holy Communion yesterday in London, and my lovely french sister in law asked me to bake the cake for the family party afterwards. This was the result after a somewhat tortuous creative process and I have to say I was rather pleased ….. in the end.

Now despite my advancing years, First Holy Communion is something that is completely new to me. The ceremony represents the first time my 9 year old niece has taken Communion, and I had no idea what a BIG THING it is in the Catholic Church. At best my family could be a called lapsed Methodists and I have been a confirmed atheist since my early teens (I blame the tedium of Chapel every morning at school). However I have to say I was charmed by the ceremony. The children are decked out in their finest, and the church was packed with family members and every one of the children takes part in the ceremony in some way. You can see how little the tradition has changed from these photos across the ages.


I couldn’t help but also admire that London’s melting pot was on full display with families from South America, Italy, Africa, Eastern Europe all alongside native Brits – a testament to the positive power of religion to bring people together. Not enough to shake me out of my atheism mind …that one is way too ingrained …. but still food for thought about the lack of cohesion in our society today.

When asked to do the cake, I also didn’t realise that this was an important element to the event. It was only after yesterday that I googled about First Holy Communion to find many fine examples of cakes for the event, and also that the cake was an important element of the celebrations after the ceremony, especially for girls. Somehow by pure accident I managed to stumble on the right formula albeit by one of the more circuitous creative routes I have taken for a while.


It started as a request to do a Macaron Piece-Montee which I have done before so I was very relaxed about it. A polystyrene cone was bought and 3 batches of macaron shells in 3 shades of pink were made about 3 weeks ago and stored in the freezer. Then I remembered some of the little ones find Macarons not to their taste, and decided a cake would be needed as well. In any case the cone would look better mounted on a cake. Then I thought it might be nice to pretty up the Piece-Montee with pink sugar paste roses, so I found a useful little cutter that makes making these a lot easier than the classic petal by petal technique. Lastly something to give the cake some height and drama was also needed so a very sparkly cross was sourced from Ebay.

So far so good. Then my brain started going into overdrive. Not one cake was needed, a tier of cakes would be even better. Not just 2 cakes , but maybe a different coloured cake inserted in the middle of the bigger cake, with the cut out used for the top cake, with roses all round the bottom tier and macarons climbing up what was rapidly becoming a tower of Babel planned with equal folly to the original.
The reality started to dawn. I had 3 evenings after work to bring the edifice to reality, plus a few hours on the morning of the ceremony. The hubby started to point out that as usual I was biting off far more that I could chew. So I scaled back. Fewer roses, no multi coloured bottom tier, no cone and just macarons on the edge of the cake and I am very glad I did. There was a moment when I was still making butter cream at 11 o’clock at night thinking this is not proving as much fun as I wanted, but after 2 evenings I had the cakes baked and made and covered, and some gorgeous raspberry chocolate ganache made for the macarons (which I thought I had invented myself only to find after a bit of googling I had not).
The next evening was the sugarpaste roses. This involved rolling out paste nice and thinly, cutting into petal shapes using 3 types of cutter for different size roses, forming the roses and letting them dry. After a few goes I had it down to about 10 minutes per rose, but by the end of the evening after 4 hours of work I had less than half of what I needed and my head was a buzz with how to finish by Saturday. I also discovered that the top tier was not high enough to take 2 tiers of macarons, and very possibly I had completely under-estimated the amount I needed.

When I get into this state I tend not to sleep very well. I woke at 5 the next morning and set to with the roses all over again. After a little planning, I realised there were a mere 30 to go and I had 3 hours to do them in. All surprisingly satisfying in the early hours of a sunny morning, and once the hubby arose from his slumbers I had almost finished . That was the point that I decided to abandon the macarons altogether. With the cakes stacked and the roses laid out, it was obviously the cake didn’t need the macarons as well. As the beloved says all too many times – “Less is More”. The only problem was that it would now need more ribbon to smarten it up which required an emergency dash to John Lewis in my lunch break.
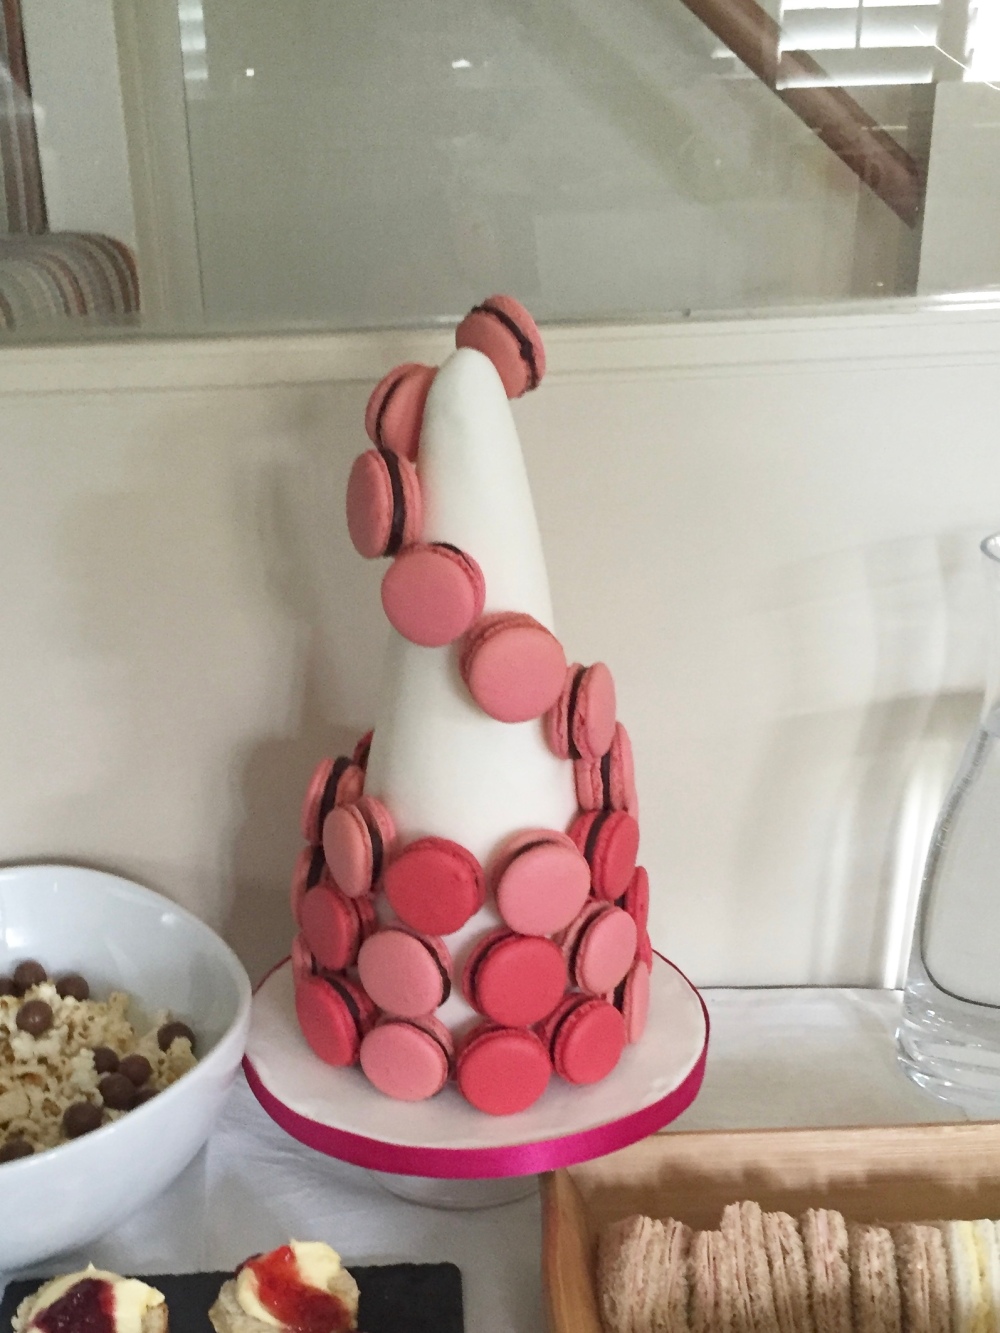
Ribbons sourced I thought the creative dramas were over. Well almost, but the macarons and ganache were made and couldn’t go to waste, so the cone was revived as a separate piece ………. but I will save the details of that for a separate post … here though is a little taster.
The cake went down very well. My little niece was overheard saying to her cousin “There is a cake, and then another cake, and then another cake!” and then added “and Uncle Stephen made every single rose himself, every single one!” Meanwhile one of my other little nieces had to be restrained from picking off all the roses before the cake had been cut.
The cake itself as a cake? Well here is the rub. When it comes to celebration cakes you have to make a compromise. If you want to decorate it highly you only have 2 options – madeira sponge or fruit cake, as only these 2 can both be made well in advance and take the weight of the fondant and sugar paste.

If you go with madeira sponge it has a tendency to dry out if you are not careful, and you are also stuck with traditional butter cream as the more light versions tend to squidge out under the weight of the sponge and fondant and show through the paste. If you like exotically flavoured cakes with light fluffy sponge then you have to downgrade the decoration I am afraid. At best they can be made one day before, and you tend to have to use a cream cheese frosting if you want a cover, which then limits the time that is available to decorate. I am afraid this is one of those occasions when you can’t have it all. This is definitely one of those looks over content cakes. You just need to chose what the occasion most needs and then commit to making as good a job as possible.

A few other tips for that ultimate moist and light madeira sponge (well as light as madeira can be).
- 1/4tsp of gylcerine per egg is key. I have done it without and with and it definitely makes a difference
- put a bowl of water in the oven with the cake and make sure you top it up if it dries out
- wrap the cake tin in newspaper (or my aluminium insulating band which you can see in my post on Simnel cake) to help it cook evenly otherwise the edge will get very dry before the middle is cooked – this is especially important with the bigger sizes.
- make sure the top of the cake is covered in some way.
The Recipe
I am afraid I was under immense time pressure on this one so there are fewer photos than usual on the technique, though there is nothing hugely complex here so I hopefully the recipe is easy to follow.
The equipment
Celebration cakes are very “kit” heavy I am afraid
- 6″ cake tin
- 9″ cake tin
- 12″ thick cake board
- 6″ thin cake board
- 9″ thin cake board
- a large and small FMM Rose Cutter
- a non stick sugarpaste board
- a foam pad
- small paint brush
- edible glue
- ball tool
- small rolling pin
- large rolling pin
- fondant smoother
- baking parchment
- ribbons of your choice
The Ingredients
For the 9″ cake
- 450g caster sugar
- 450g unsalted butter
- 450g self raising flour
- 225g plain flour
- 8 large eggs
- zest of 6 lemons
- juice of 1 lemon
- 2tsp glycerine
For the 6″ cake
- 175g caster sugar
- 175g unsalted butter
- 175g self raising flour
- 75g plain flour
- 3 large eggs
- zest of 2 lemons
- juice of 1/4 of a lemon
- 3/4tsp glycerine
For the Lemon Butter Cream
- 240g unsalted butter
- 1050g icing sugar (yes over 1kg!!!!)
- 60ml lemon juice
For the decoration
- 2 kg white fondant icing
- 500g modelling sugar paste
The Cake Method
To bake the cake
- preheat the oven to 160C / 140C fan
- line the baking tins
- sift the 2 flours together twice to ensure they are evenly combined
- beat the butter and sugar together until light and fluffy (about 5- 10 minutes)
- beat in the eggs one at a time, adding a spoonful of flour with each egg to prevent curdling
- mix in the lemon juice, zest, juice and glycerine (adding a spoonful of flour at the same time)
- if you want a coloured sponge, add the colour now remembering the cake loses colour in the bake
- fold in the flour
- spoon mixture into the tin
- scoop a substantial hole out of the middle of the cake building up the mixture to the side (this ensures the cake rises more evenly)
- wrap your cake tin in a foil insulating band or newspaper
- put a bowl of water in the oven
- cover the cake with a lid made of foil (or a baking tray on the shelf above the cake)
- bake the 9″ cake for 2 hours to 2 and a 1/2 hours until a skewer pulls out dry
- the length of time is quite unpredictable on this one so check after 90 minutes and then at 10 minute intervals thereafter
- bake the 6″ cake for 1 hour to 1 and a 1/2 hours
- allow to cool in the tin
- store in an airtight container for at least 12 hours before decorating to allow cakes to settle


The Buttercream
- whip the butter until light and fluffy
- add in the icing sugar and lemon juice and whip further until further combined and light and fluffy
To cover the cakes
- slice off any doming on the top of the cake to get a flat surface
- do this by placing the cake on the cake board, place an object like a small plate in the original tin it was baked in, and then put the cake back in the tin.
- this lifts the cake so that the domed area is just above the rim.
- you can then use the edge of the cake tin to act as a guide for slicing the cake absolutely flat
- then slice the cake in half carefully marking the top and bottom half with a tooth pick undr each other so you can keep the 2 halves aligned later on when you ice the cake
- to slice in half, I picked up a little trick involving toothpicks placed exactly halfway up the cake, notching a line with a knife all around it and then using dental floss to slice through the cake like a cheese wire.
- fill the cake with butter cream
- spread a thin layer of butter cream around the sides and the top to act as a glue for the fondant and fill any holes
- For the 9″ cake, roll out 1 kg of fondant and lift onto the cake and smoothe down (this one takes a bit of practice I am afraid and try to avoid the air getting in and stretching the paste)
- For the 6″ cake do the same with 500g of fondant
- TIP: I use a silicone mat for working with fondant as it means you don’t need to add cornflour to the fondant to avoid it sticking


To make the roses
There is a very useful instruction video (which I found after I finished the cake) on how to use the rose cutter. Basically though
- roll out the paste very thin (I don’t bother flouring the non stick board – you just need to lift it off the board from time to time as you roll it)
- cut out the shape
- thin the petals
- glue just above the middle
- fold in half
- roll up
- open up the petals
- allow to dry


To build the cake
- put both cakes on thin cake boards
- cover the 12″ cake board in sugar paste
- insert wooden dowels into the larger cake to support the smaller cake on top (insert them into the cake, mark the length needed to come just to the top of the cake and cut to size)
- then simply stack and arrange the roses as you wish.

It looks wonderful Stephen. I think some counselling about getting the challenge/worry balance sorted might be helpful! Glad it was a success and I’m sure your niece loved it
LikeLike
Stephen, congratulations on such a fabulous cake. Simply stunning and decorated perfectly in pink for a little girls. Very few uncles would be able to contribute so wonderfully for such an important family occasion.
Annie G
LikeLike
Already commented on the Holy Communion creation and ventured into your blog as I wanted to comment on your Opera Cake. You kindly shared this with me and ‘my’ Stephen over dinner along with your family. It was a truly sophisticated and grown up slice for desert beautifully presented with amazing flavours.
Stephen you are a baker of some accomplishment and huge generosity
Annie G
X
LikeLike
This is a wonderful cake. I will be making my first Holy Communion cake in a few weeks and I am glad I found your blog for inspiration.
LikeLike