I had a very busy baking week last week because my brother asked me to make the cake for my niece’s First Holy Communion. You can read all about that here. Originally he asked for a Macaron Piece-Montee , which knowing my brother he did partly to see if I would be floored. In the end the main event was the cake but i couldn’t let the macarons go to waste so I decided to also do this Piece-Montee for the day.

Now I have done a Piece-Montee once before for Christmas with the macarons decked out in Christmas colours filled with Raspberry White Chocolate Ganache and Lime Ganache, so I wasn’t that phased with his request. However the Christmas one was not wholly successful. The green shells were a little too wet because I used some old liquid food colouring rather than gel, and the cone I bought was way too big so the macarons were a little too spaced out. However whisking it out at the end of the celebratory meal still evinced multiple oohs which is always very satisfying.

Having learnt my lesson from Christmas I opted for a smaller polystyrene cone. The Christmas cone was 45cm high so I went for a 30cm high cone as I intended to cover the cone completely this time – 40 was my reckoning based on a bit of maths.
The cake for my niece’s Communion party seemed to go through a tortuous creative process, and this was no different. The original plan was for 3 shades of pink spiralling around the cone, but the light shells came out a slightly sickly flesh colour because my new oven over baked them so I was immediately down to 2 colours. The available shells were down by 1/3rd.
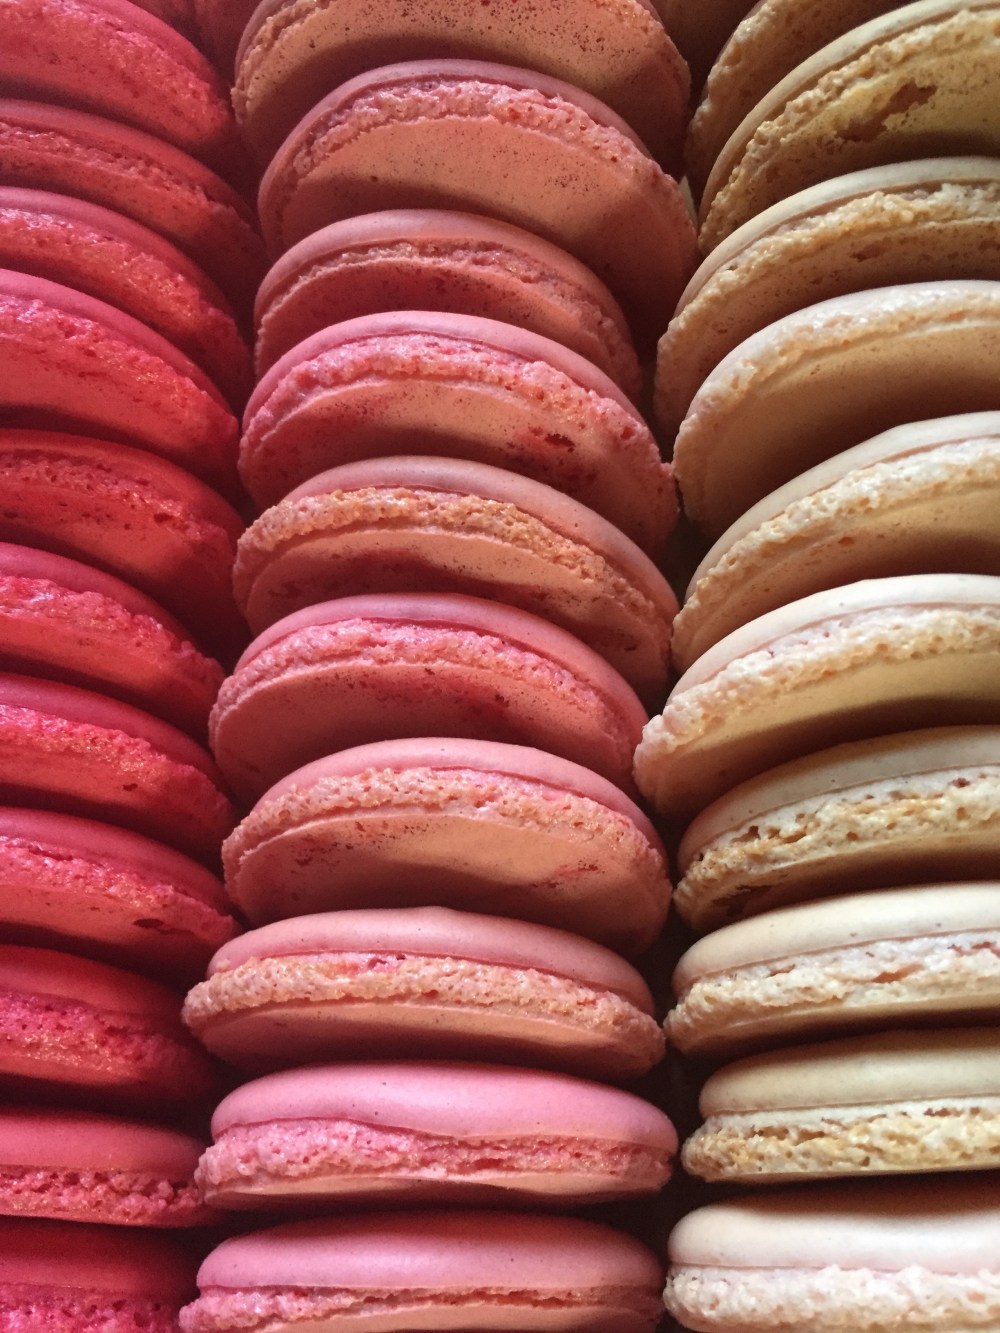
The second challenge with a Macaron Piece-Montee is that the shells really need to be a consistent colour and shape, otherwise it looks a bit of a mess. I tried super super hard on this one, and whilst I improved as I did each colour batch, they certainly didn’t match as well as I would have liked. Picking the most evenly shaped shells meant I was down again (you can guess what is coming).
The third challenge was how to attach the shells to the cone. There are 2 techniques out there. One involves putting a spot of chocolate on the surface to glue the shell on, the other involves toothpicks. The toothpick method was used at Christmas where I prepared the cone with the picks beforehand, which was one of the reasons the cone was not closely covered, so I wasn’t sure I wanted to try that method again. However I knew the cone had to make it down to my brother’s place, and the weather forecast for the weekend was a heat wave of 28C. If I used the chocolate method I had visions of the chocolate ganache and chocolate glue melting and all the shells sliding down the side of the cone in a brown puddle on the table. Toothpicks it was then.
Lastly I wasn’t sure whether to cover the cone with paper of fondant icing. It can be both, but I had a ton of fondant left from the cake so plumped for that. To be honest I am glad I did given what happened next.
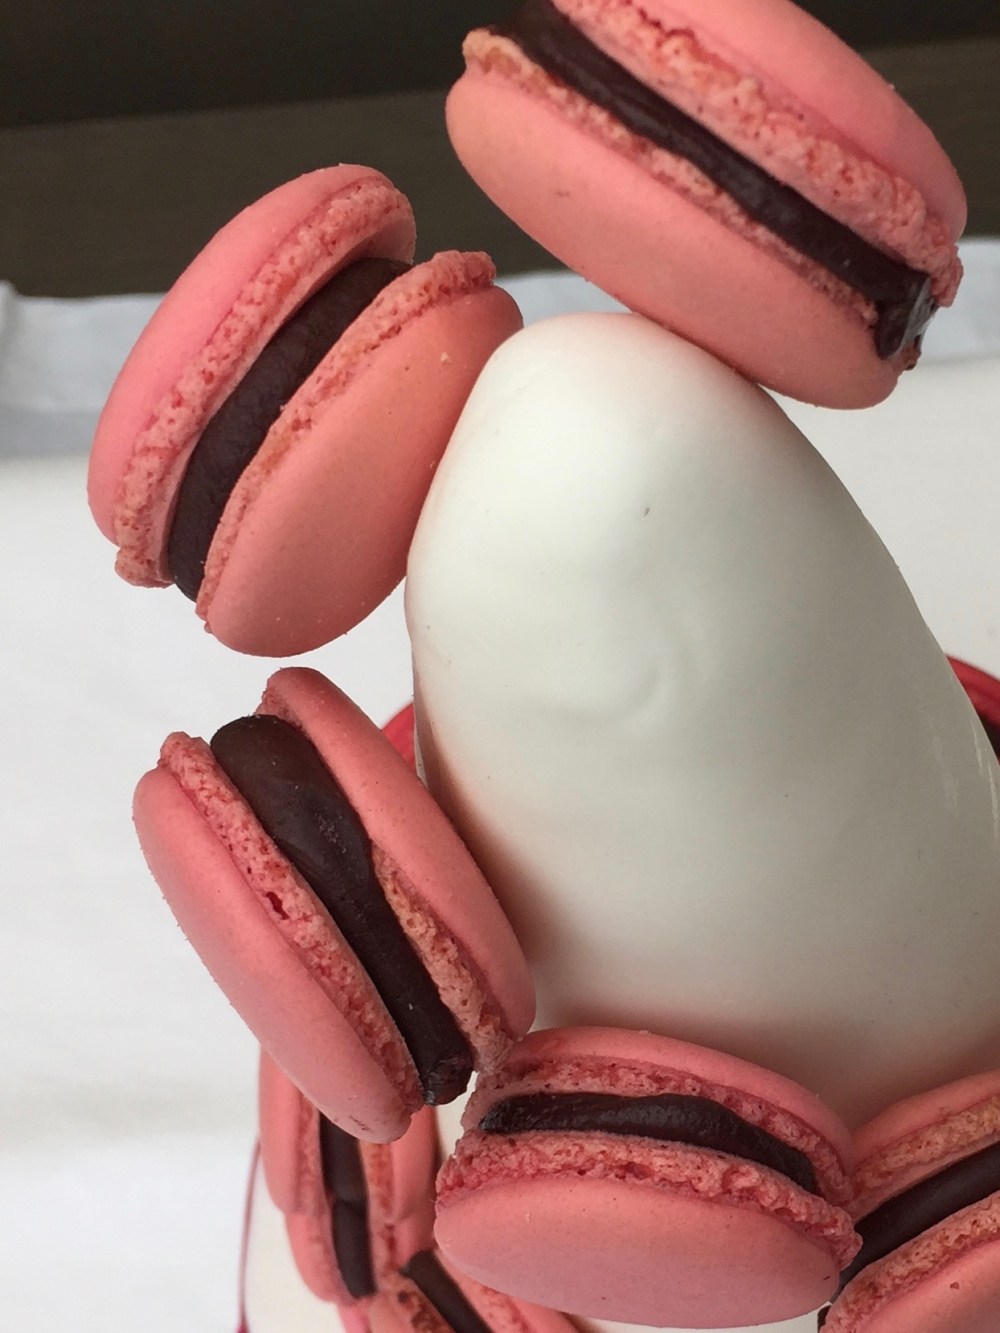
I decided to not pre-assemble the Piece, but make it up there. The shells were carefully packed in tupperware and taken down to Brixton. Toothpicks were broken in half and the hubby and I started to pin the macarons to the side. All went well except at the end of Row 2 I realised I had massively underestimated the number of shells needed. For a 30cm cone you need about 50-60 shells . After my various trials and tribulatons, I had 35. The answer – the design you see below which I was actually rather pleased with, and the fondant made a nicer backdrop than paper.

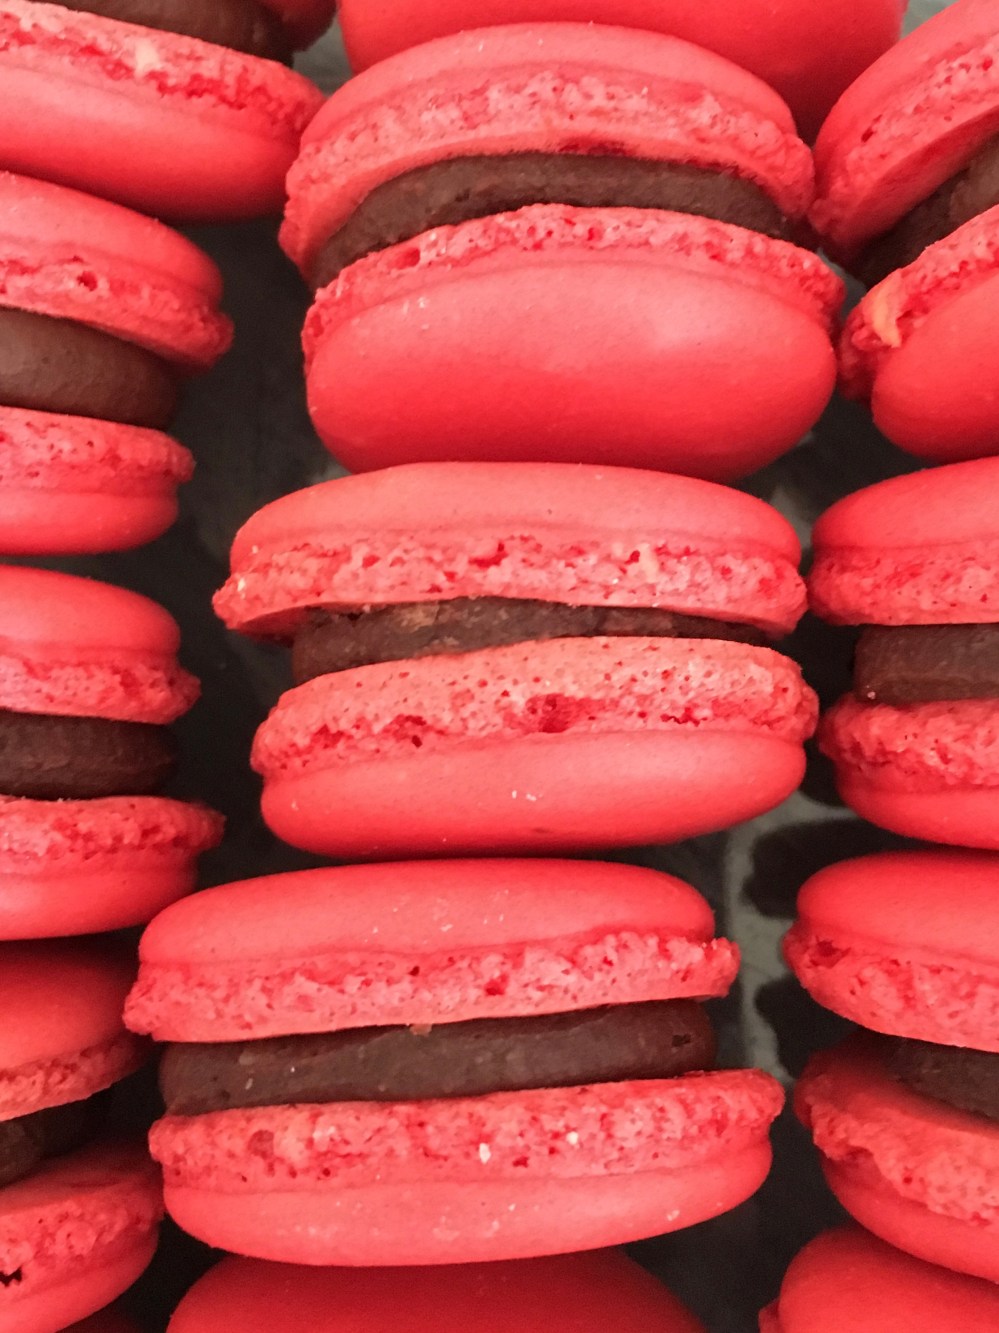
The macarons themselves were delicious and much appreciated by my french sister in law’s family. The little girls at the party were not so sure. The raspberry dark chocolate ganache was a little too sophisticated for their palate, even though it has a lovely bite to it and will be making an appearance again in other baked goods and sets off the pink shells beautifully.
The Recipe
If you want to understand the method in more detail please read my detailed post on the techniques for making macarons and the reasons behind them.
You need to make 2 batches of macarons and 1 batch of ganache if you want to do the cone.
The Ingredients
For the Paste
- 170g Icing Sugar
- 170g Ground Almonds (before sifting – you lose about 10g in the sifting)
- 60g Egg White – about 2 medium eggs
For the meringue
- 60g Egg White – from about 2 medium eggs
- 160g caster sugar
- 50ml water
For the Dark Chocolate Raspberry Ganache
- 200g dark chocolate
- 200g whipping cream
- 100g raspberries (pureed and sieved to remove the seeds)
- 20g honey
- 25g unsalted butter (at room tempertaure cut into cubes)
The Method
Prepare your equipment
- cut out baking parchment and lay across a few baking sheets
- get your piping bag ready
- make sure all your bowls are scrupulously clean and free from grease
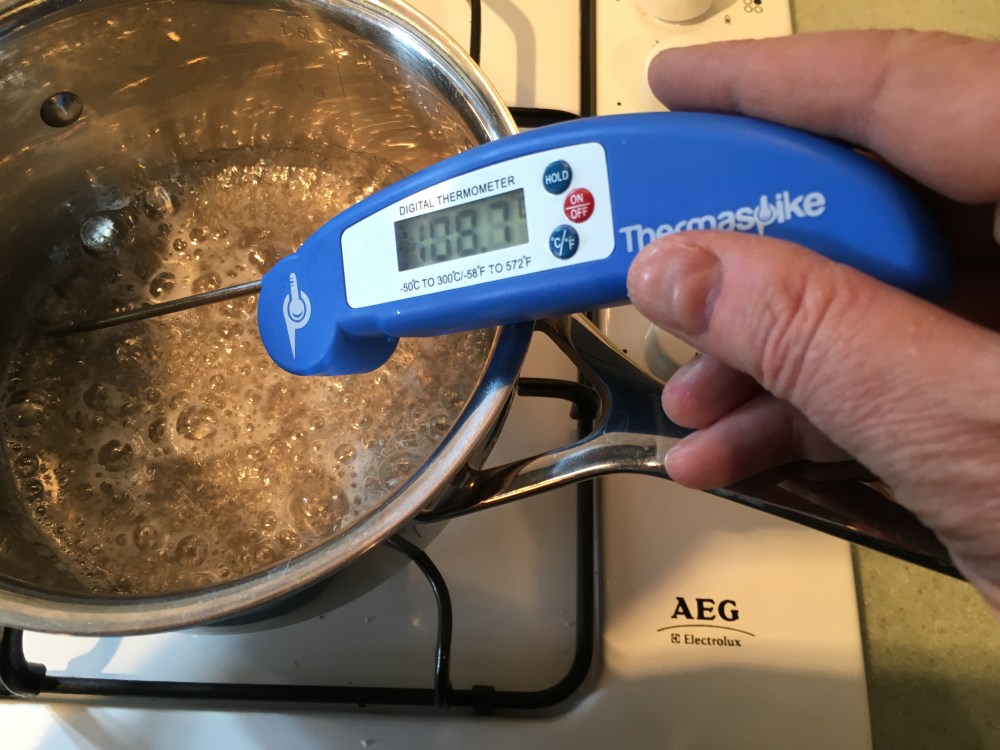
- make sure you have an electric cooking thermometer which is working

Prepare the almonds
- combine the almonds and icing sugar
- put through a food processor or grinding mill
- push through a sieve throwing away the last big pieces (about a dessert spoon full)


Make the meringue
- put the egg white in a bowl (preferably metal) in a stand mixer with any splash guard removed
- put the water and sugar in a saucepan
- bring to the boil (but do not stir at all) checking the temperature
- when the temperature hits 110C start whisking your egg whites
- when the temperature hits 118C take your sugar syrup off the heat
- check your egg whites are very stiff and dry (they should be)
- gently pour the sugar onto the egg whites with the whisk still going
- carry on whisking until the mixture has gone back to room temperature
- add food colour of choice
Make the Paste
- combine the remaining egg white with the ground almonds and icing sugar and mix to a thick paste
- add the meringue to the paste
- beat down using the macaronage method (see this video – turn, fold and flatten with a spatula is effectively what you are doing)
- check for the consistency and once it flows off your spatula like lava you have it at the right consistency


Pipe and Dry Your Shells
- add your mixture to a piping bag with a 1 cm nozzle
- press out any air as well as possible
- pipe the shells as close in size as possible
- rap the baking sheet sharply on the over surface to bring any large air bubbles to the surface
- burst any major air bubbles with a tooth pick straight away
- leave your shells to dry fro 30 minutes to an hour until they have a dry skin on them (brush your finger across the top to test for this)


Bake
- heat you oven to 180c / 160C fan whilst the shells are drying
- bake the shells in the middle of the oven for 12 minutes
- place a baking sheet directly above the shells
- after 10 minutes briefly open the oven door a small crack to allow steam out
- check the shells after 1 minute to see if they are cooked
- carry in doing so 1 minute at a time
- allow to cool on the baking sheet
- peel off the paper and store ready for filling


Make the Ganache
- chop or grate your chocolate into fine pieces and place in a bowl
- put you cream, raspberry puree and honey into a saucepan
- heat the cream mixture until just about to boil
- pour the mixture onto the chocolate stirring all the time until the chocolate is meted
- add the butter while the mixture is still warm and stir until fully combined
- set aside in the fridge to set


Assemble your shells
- sort your shells into pairs of the same size (unless you are super good at piping and don’t need to
- put your ganache into a piping bag
- pipe onto your shells
- store the filled shells in the an airtight container in the fridge for 24 hours
Assembling the cone
- cover your polystyrene cone with fondant or paper
- do a little planning to work out how many shells each row will take and work out where the back of the cone is going to be
- attach the shells one by one as close to each other as possible
- break a tooth pick in half
- make a hole with the sharp end in the polystyrene cone
- reverse the pick and put the broken end in the cone with the sharp end pointing out with enough showing to secure the macaron shell
- carefully push your macaron onto the pick
- now repeat for the next shell
