Bread has been somewhat neglected on the blog because it is such an everyday thing for us, but I seem to be making up for lost time. Most weekends my sourdough starter is brought out from the fridge to be brought back to life and a loaf of something is run up. I long stopped following a recipe other than the basic baker percentage rules which I will at some point write up for my Basics section of the blog.
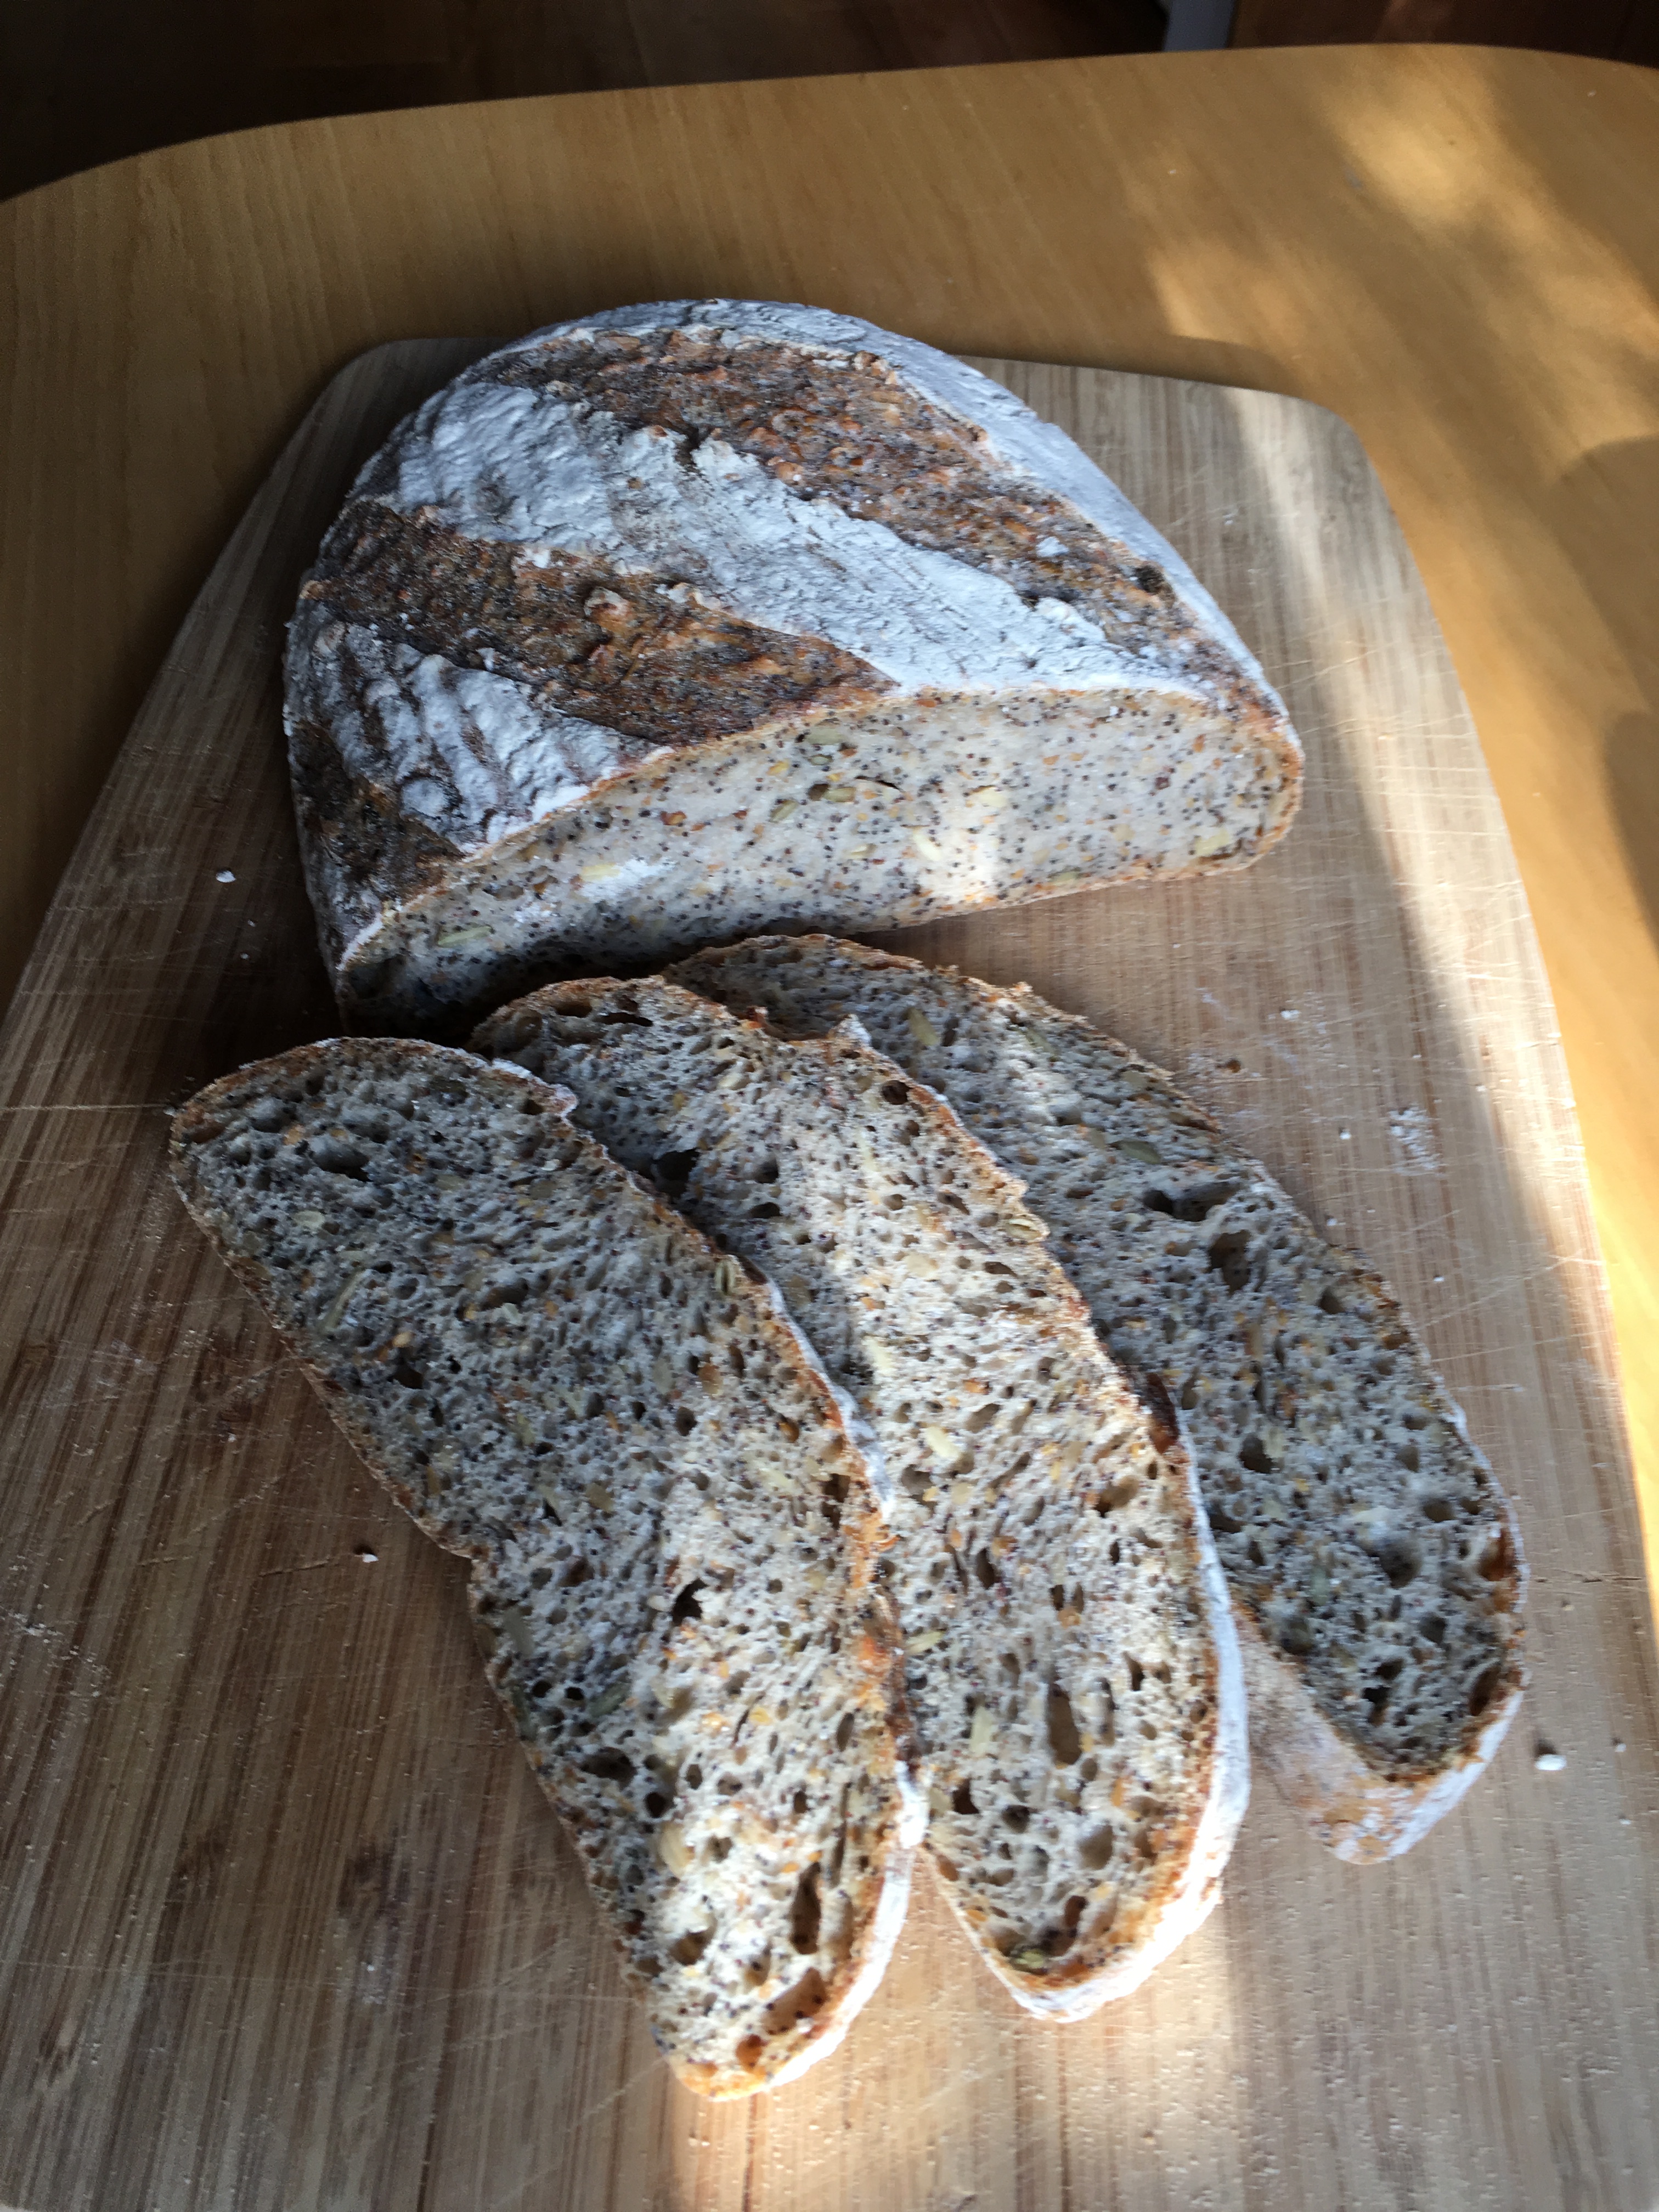
Normally I do a white and rye seedy loaf (the loaf in the picture was this weekend’s weekly loaf) , but this 100% Rye loaf is a long neglected loaf that was taught to me many moons ago by David Jones who runs a cooking school called Manna from Devon with his wife . I went for a weekend group class because I was getting increasingly frustrated with my dough handling skills and especially my failed Rye breads which were always coming out too heavy. I was determined to get it right. Rye bread is special to me because it is reminiscent of good times in Germany, but getting it here is tricky unless you have a specialist bakery in your area.
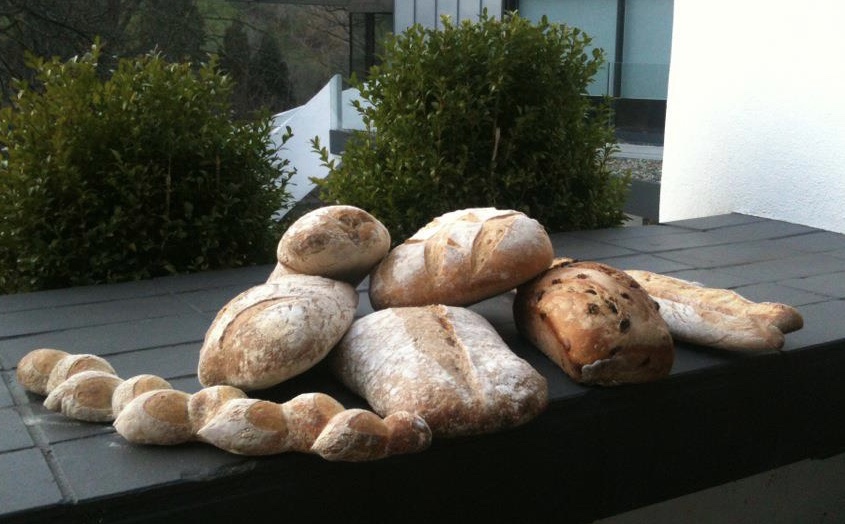
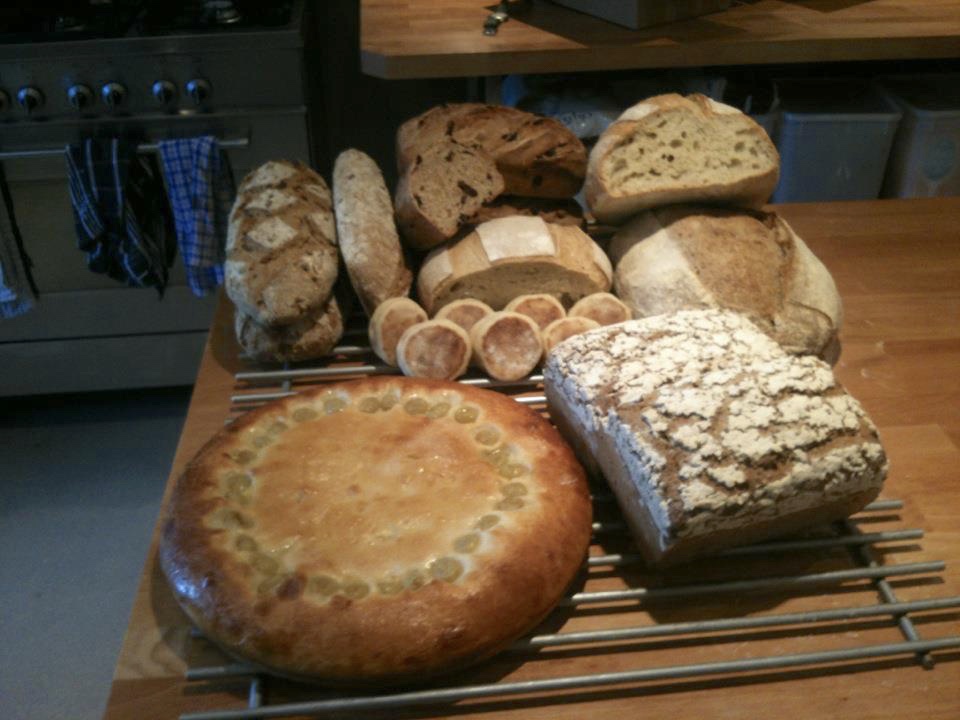
The class increased my bread making skills ten fold, not least because it ended being one on one training as no-one else had booked. I made a huge number of loaves over the weekend (see the photos) but the main thing it taught me was how to handle dough, especially wetter dough, and nothing comes wetter than this rye bread. What David taught me is that the key to good 100% Rye loaves is that the mix needs to have the consistency of thick concrete and bares no relationship to normal bread dough.
This loaf was recently revived because our friend Paul had asked me for a bread lesson ages ago, and we finally hooked up a few weeks back. He particularly wanted to do a 100% Rye Sourdough as it is his partner’s favourite. I was more than happy to oblige and this recipe was the first that jumped to mind, not only for its deliciousness but also because it is a good ice breaker for a bread novice. It involves no kneading whatsoever, you just stir the ingredients together into a gloopy mess, slap it into a baking tin, sprinkle with fennel and flour and leave for a few hours to rise as much as possible and then bake. The hardest part is getting it out of the tin.
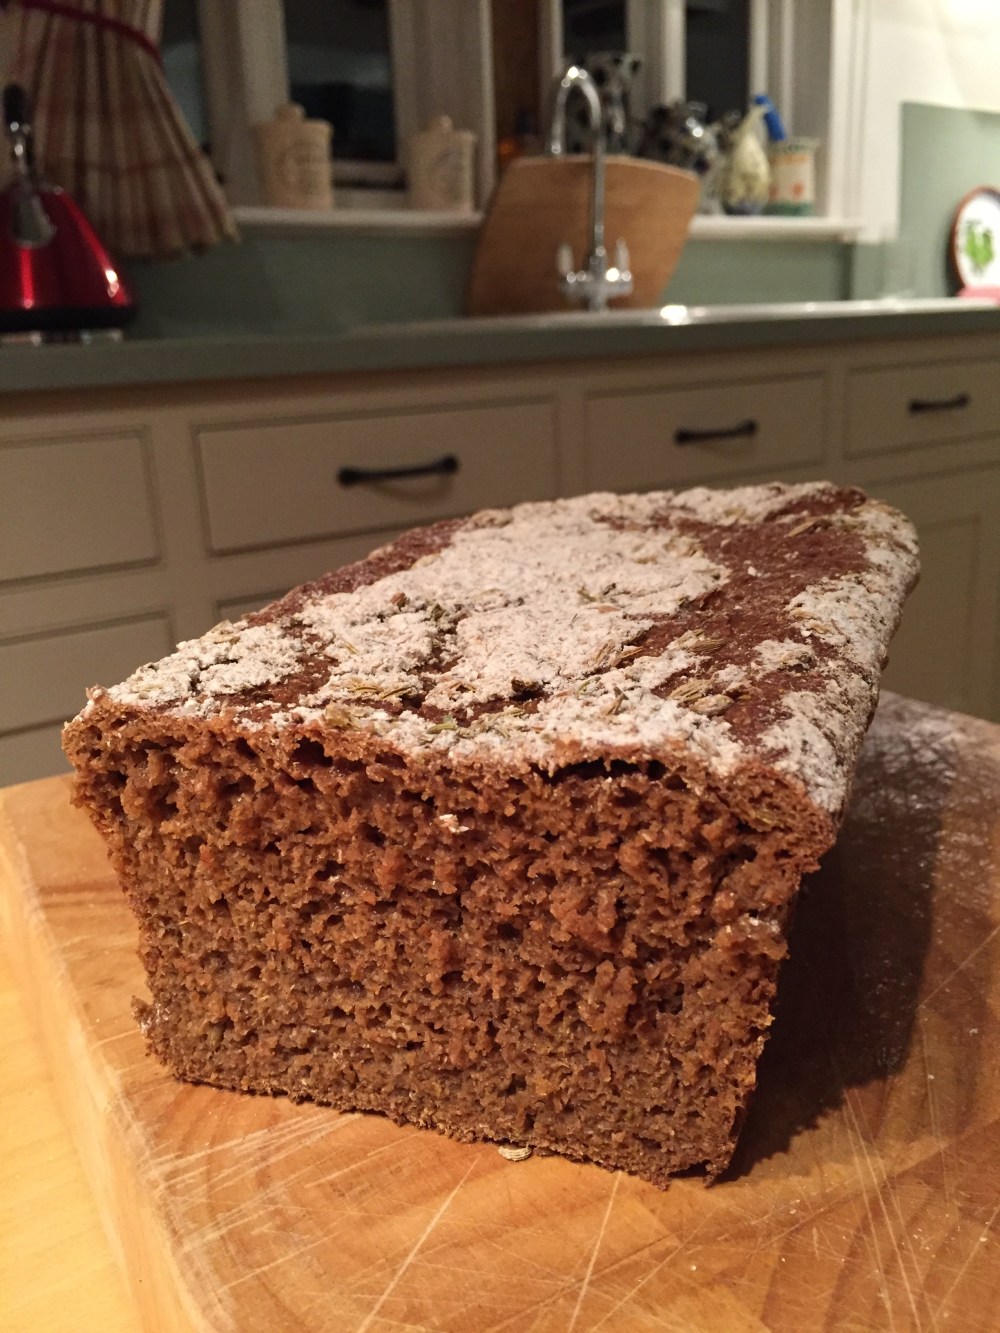
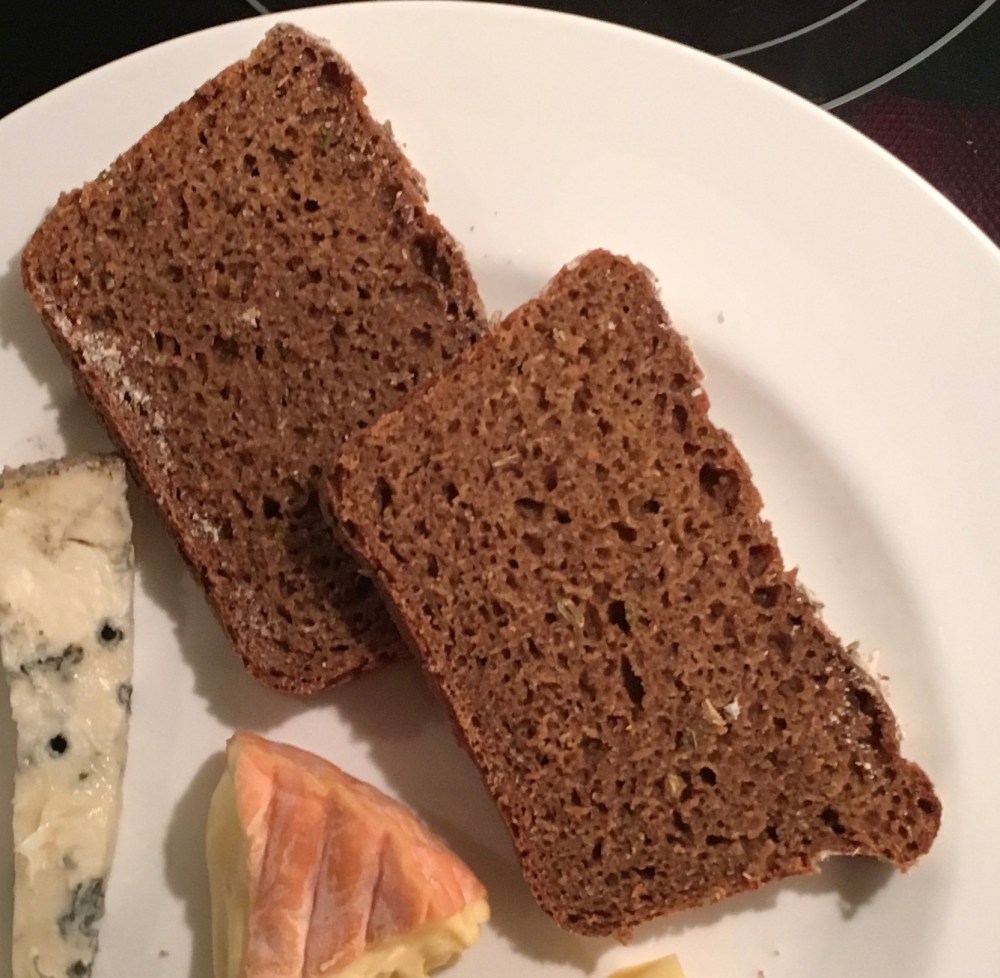
So what makes this loaf special – well you normally expect 100% rye bread to be really heavy. This one is not. It’s very light in texture, and very moist, and has huge depth of flavour. It is particularly delicious with cheese, especially the strong ones, which for tonight’s light supper were Epoisse, Gruyere and Gorgonzola .

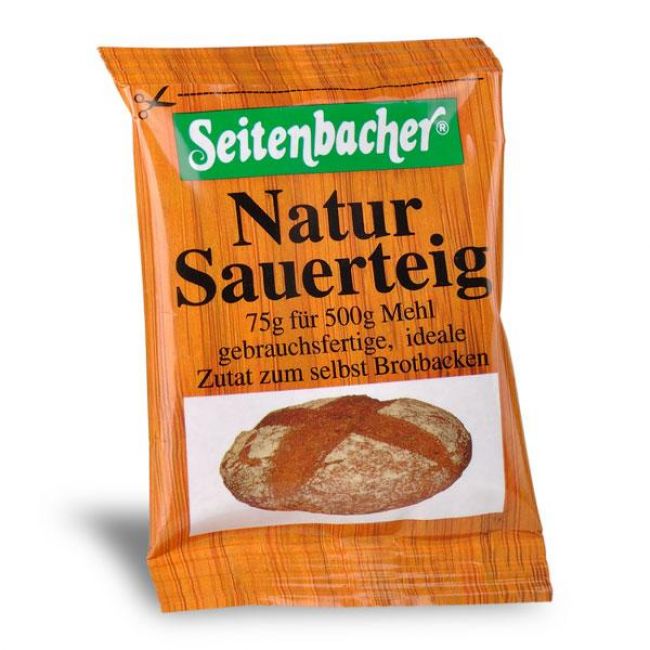
The only real complication is this only really works with Sourdough as that is what gives it its depth of flavour. If you don’t have a Sourdough starter the Germans do have a handy shortcut that comes in the form of of one of their many baking Päckchen – Sourdough in a packet. You can’t get it in the UK, so you either need to pop over to a German supermarket where these things are everyday, or buy them from www.amazon.de for a 50% delivery charge . I have never tried it myself but have seen reports it gets to a good approximation of Sourdough. We have a trip coming up soon to visit the Christmas Markets in Cologne, so I may procure some along with some of the more obscure German flours that you can’t get here.
The other key flavour components are the black treacle and fennel. The fennel gives it a distinct aniseed flavour so go light on it to start with until you know what suits you. Using black treacle is a slight cheat to get the colour of Pumpernickel. I am afraid true Pumpernickel is incredibly hard to do as it involves baking at a low temperature for such a long time that the natural sugars in the flour caramelise. In the days when baking was done in wood fired ovens, Pumpernickel was the last bread of the day and left in the oven overnight as the embers died down. Our modern ovens make that very hard to mimic unless you want to pull an all nighter to gradually dial down the temperature, though as ovens become more and more digital maybe one day we can.

And Paul’s bread lesson? Well Paul is now up and running and making his own bread with his own starter, but the day brought back to me that the true challenge with bread making is how to handle the dough and know when the various proving stages are done, and how hard I initially found it. There’s a lightness of touch you need with dough if you don’t want to end up with a sticky mess all over your hands. I still remember David teaching me his technique of folding and rolling the dough back on itself ready for proving and building structure in the dough. When he did it he ended up with these beautiful pillows of perfectly formed dough. When I did it – well lets say they looked like my duvet does after a very bad night’s sleep thrashing around. My dough pillows are now as beautiful as his I am pleased to say and I am sure Paul’s will be soon.

The Recipe
Ingredients
- 100g rye sourdough starter (made from 50% whole rye, and 50% water)
- 400g whole rye flour
- 310g water
- 1 dessert spoon black treacle
- 2-3 tsp fennel seeds (it all depends how
- 10g salt
Tip:
If you just have a white sourdough starter than mix 50g rye with 50g water and add a couple os spoonfuls of your white starter, then leave it overnight to get going.
If you don’t have a sourdough culture then try this with a pre fermentation. Take 200g of the flour and add 360g of water (that is all the water in the recipe – 310g as above plus 50g of the water in the sourdough starter), add quick yeast, cover and leave overnight. The next day add 250g of flour (that’s the other half from above plus the 50g that is in the starter in the ingredients list), the treacle and fennel and salt and carry on. It will rise quickly (probably an hour) so keep an eye on it.
The Method
- put all you ingredients in a bowl and mix until fully mixed. You will have a thick wet paste on your hands.
- put your gloop into a 2lb non stick loaf tin (21cm x 11cm x 7cm). The non stick part is important as you will never get the loaf out again if it is not.
- sprinkle the top with fennel seeds and a thin covering of rye flour.
- put your tin inside a large plastic bag and allow to rise by about 50% (until just coming over the edge of the tin – this takes about 3 -4 hours


You don’t get a huge rise in the oven with this bread (as you can see from the before and after pictures below) so allow this to rise as much as possible. The flour topping will show an attractive splitting if it has risen enough.


- bake for 45 minutes at 180c
- if you have a thermometer, it is worth checking the inside temperature is above 95C to check it is cooked through – with a dough this wet it is hard to tell
- allow to cool slightly in the tin
- loosen lightly with a knife around the edge and tip out
- allow to cool fully before serving and preferably wait a day before eating it
- find the nicest strong cheese you are and off and enjoy!

Yummy!!!
LikeLike
I love bread and this recipe is a must try
LikeLike
Do – but dial down the fennel until you know what suits you. Start with 1tsp and work up. What tastes strong on its own can be well balanced against cheese
LikeLike
You are a master baker! Love your tutorial and your pictures are fantastic. Hoping to get back to more bread baking in 2017.
LikeLike
Thank you. Home made bread beats the shop bought stuff every time, and always very satisfying to do.
LikeLiked by 1 person
Thank you for sharing this recipe. You baking skills are excellent. I shared this on twitter @bakeandwrite.
LikeLike
I made this yesterday& I have it say you’re absolutely right about the depth of flavour, my goodness! I’m just starting out with sourdough & was pleasing surprised with how low maintenance the dough was – I think it’ll be entering my weekly baking schedule! Thank you again for the recipe, I’ll be trying your seedy sourdough next (:
LikeLike
I am glad you like it and I may revive it this weekend. There really is no better bread than sourdough.
LikeLike
Great recipe – went with caraway over fennel. Been searching for a 100% rye, tinned like this and this is such a straightforward recipe – thanks heaps!
LikeLike