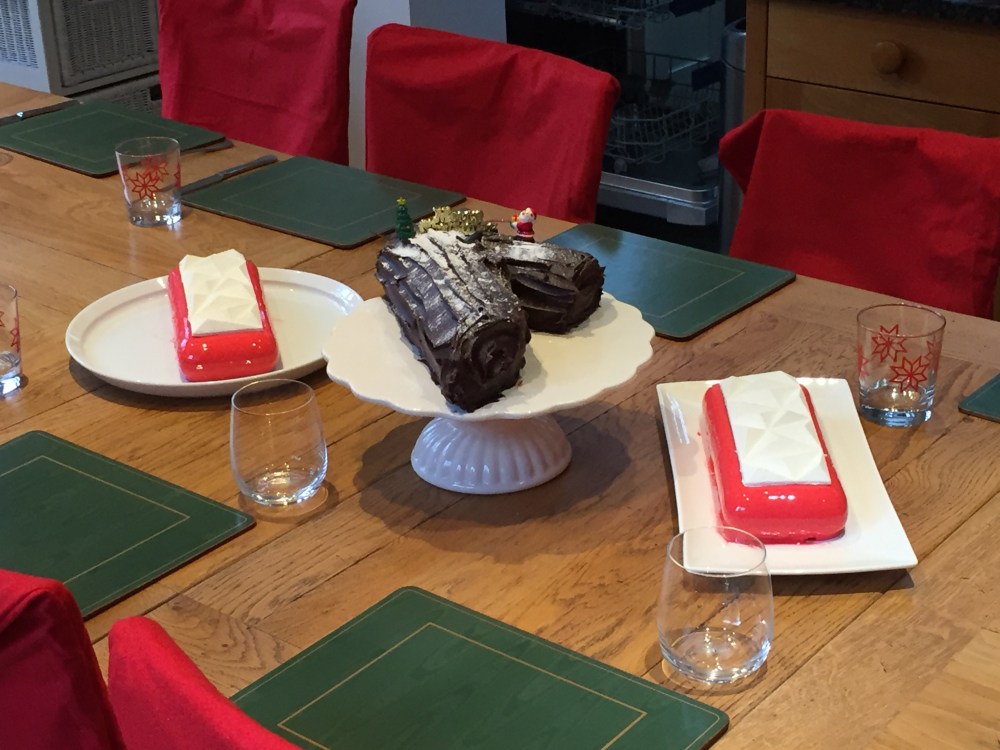
As I have said in a previous post I have gone a little entremet mad since discovering Maren Lubbe’s wonderful blog MaLu’s Köstlichkeiten. This delicious thing (well actually 2 of them) was my contribution to the Boxing day lunch at my sister’s (the log on one of the photos was her rather marvellous creation) where the whole family got together for a Christmas day leftovers buffet and plenty of party games. The food was wonderful, alcohol as ever plentiful and the beloved and all the in laws were deeply grateful the annual round of Priest of this Parish (a “delightful” gently anti-catholic hand me down from our Victorian Mancunian Methodist ancestors) failed to be played. Mind you the beloved seems to get just as competitive as the rest of us once it gets going.

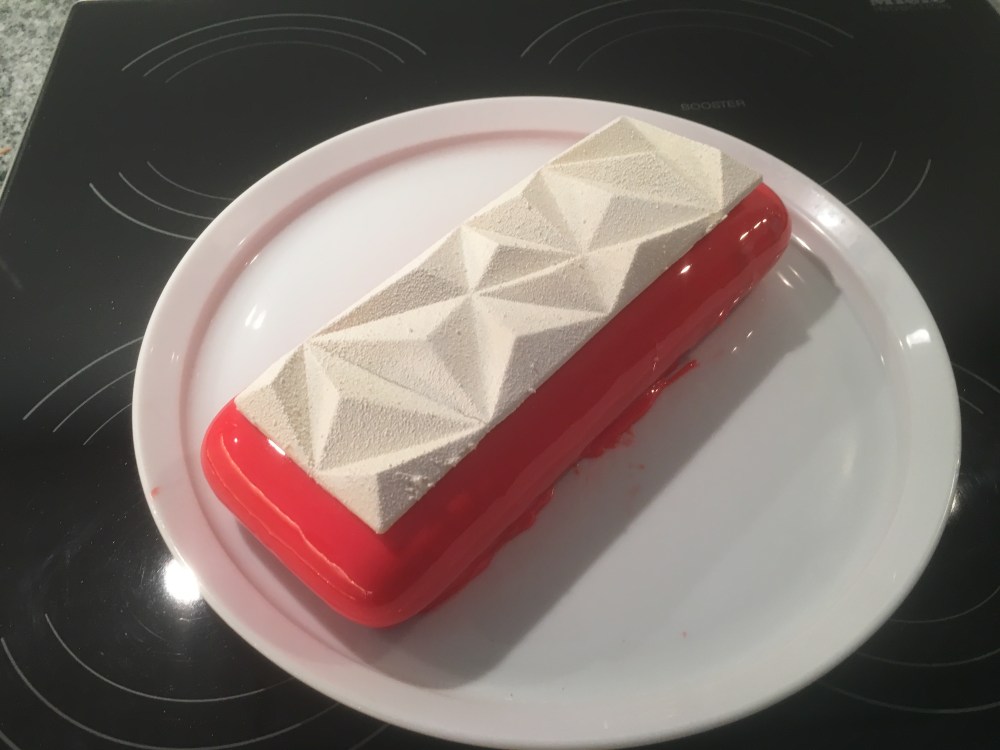
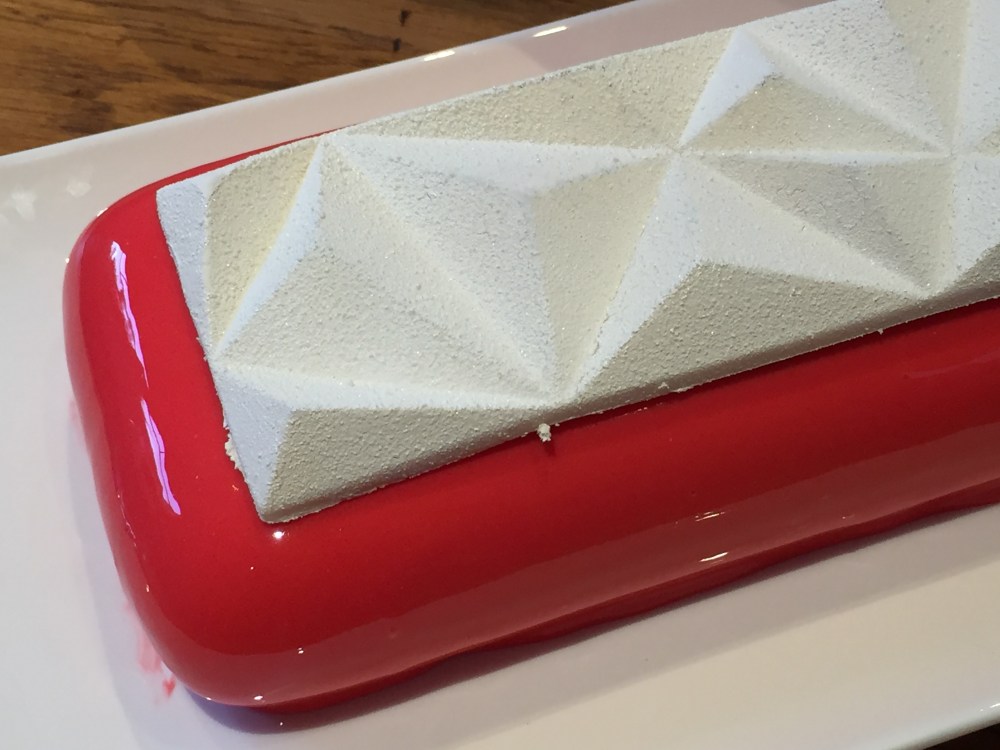
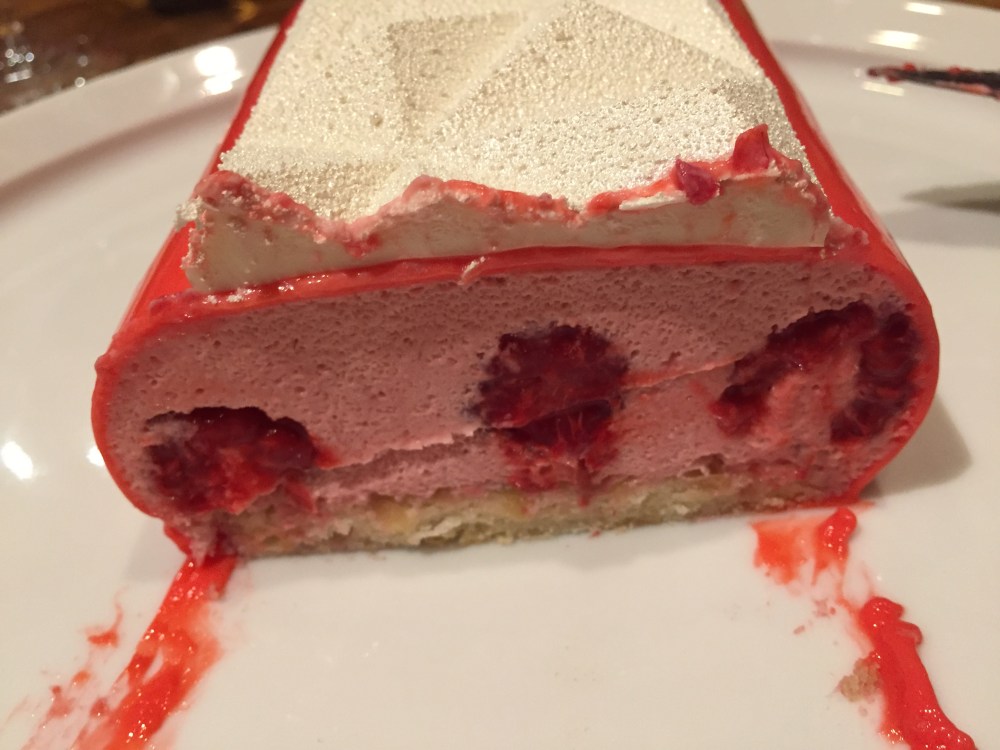
However let’s get back to the baking. This torte is another of Maren’s recipes and is at the more simple end of this year’s Christmas puds. It consists of white chocolate raspberry mousse studded with fresh raspberries on a bed of almond dacquoise, covered in a Christmas red mirror glaze topped with an alpine shaped slice of pannacotta. It is light and fresh and perfect as a finish to a meal. My harshest critic, the man of my life, said I was allowed to do it again which is about as good as it gets!
What I must say is that making these layered Tortes is less complex than it looks …… as long as you break it down. The issue is the time involved in making multiple elements and the complexity of assembling them together. However I am pretty sure most people who are into baking and desserts will have made a sponge, mousse and pannacotta at some time in their cooking lives, and the great thing about these is that most of the elements can be made well in advance and frozen which means you can make them well in advance of your function. So don’t be frightened – try it and a whole new world of professional looking patisserie will open up to you.
There is however one downside. These type of desserts tend to require special moulds though for this one I am sure a bread tin lined with cling film could double for the silicone mould. You could also make individual ones in muffin cases, which I did with the extra mousse and sponge I had left over.

It did involve a first for me – my very first full coloured mirror glaze that went to plan! I have mentioned the Topless Baker’s youtube channel before (he is very very easy on the eye!) when I did a clear glaze that didn’t quite work (because I hadn’t it let it cool enough). He takes you through the whole process very clearly as you can see in his video here.
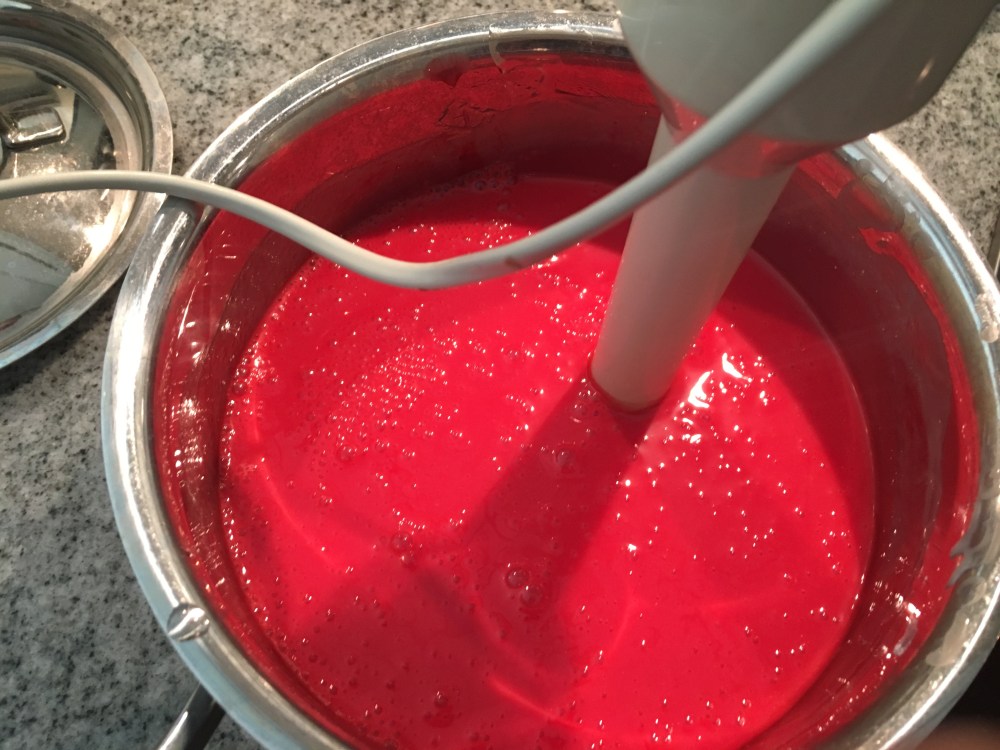
There are a few key things to remember with mirror glaze. Heat up to the right heat temperature to begin with, get the bubbles out, wait for it the get to body temperature, and pour with confidence. The top 2 are removing the bubbles and pouring with confidence.
For bubble removal, blend with a hand blender which you don’t move, and then pass the whole mixture through a sieve just before using.
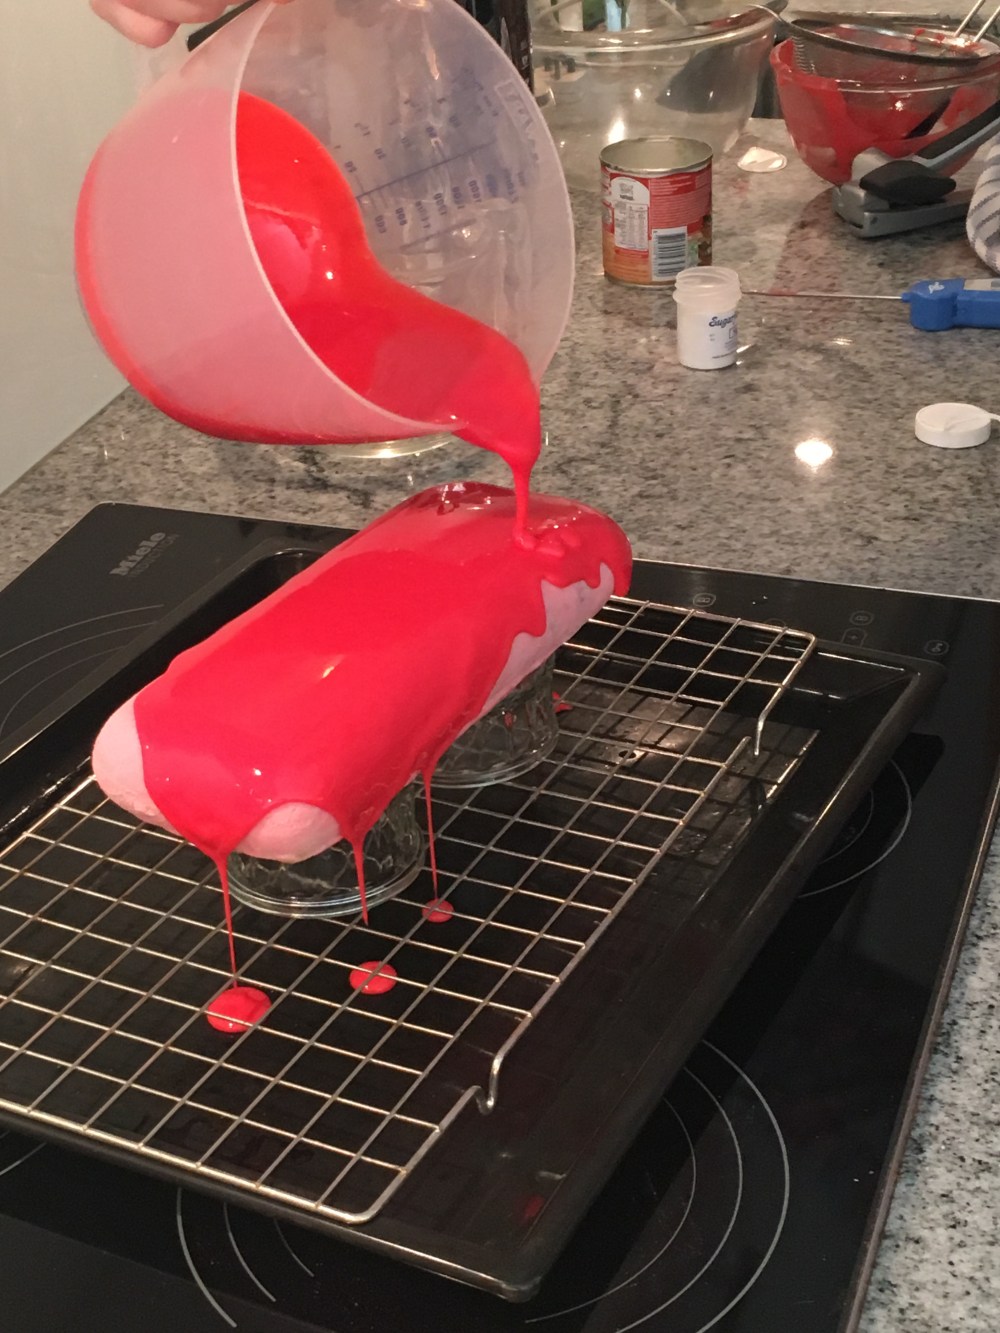
Pouring with confidence means just that. The aim is to get an enveloping flood over the area, otherwise you get a finish full of dribble marks. If it hasn’t covered a part of your pud, then pour near it generously, don’t drizzle. The glaze keeps in the fridge and once reheated can be used all over again so don’t worry about making too much as it is better to have some left over and a beautiful finish rather than a partially covered sweet delight.
There is not much more to add. It did use industrial quantities of raspberry puree and I would recommend buying this from the internet as it is cheaper than buying fresh which at this time of the year is expensive. In addition the mould is quite shallow so for the raspberries you push in the mousse select the small ones from the pummet.
The Recipe
Equipment
Other than your normal batterie de cuisine there are some specific bits you need.
- Pavoni Venus Silkomart mould
- Pavoni Iceberg Topper mould
- Food Thermometer
- White Velvet Cocoa Butter Spray
- Pearl Lustre Spray
Ingredients and Method
As ever with these type of bakes you need to allow time for everything to freeze so you can assemble it, and then time for it to defrost in order to serve it.
The order of play is
- make and freeze the pannacotta topper
- make the dacquoise and allow to cool
- make the raspbbery mousse
- assemble the mousse into the mould and freeze
- make your glaze and pour over your frozen torte
- spray the topper with white cocoa butter and pearl lustre and place on top
- defrost and serve!
Pannocotta Topper
- 110g single cream
- 10g caster sugar
- 1/2 tsp vanilla bean paste/vanilla extract
- 1 sheet of gelatine
The Method
- soak your gelatine sheets in a bowl of cold water
- add the vanilla, sugar and cream to the pan and bring to just about to boil
- allow to cool for 2 minutes (c.85C)
- squeeze the excess water out of the gelatine and add to the milk and cream and stir until completely dissolved
- pour carefully into your iceberg mould until it is full to the brim
- allow the pannacotta to set before moving to the freezer as it is very easy to spill liquid out of the mould
- then wrap in clingfilm and freeze


Almond Dacquoise
- 50g ground almonds
- 40g icing sugar
- 60g egg white (2 medium eggs does the trick)
- 20g caster sugar
- 15g plain flour
- 1-2 tbsp chopped almonds
- icing sugar to dust
The Method
- heat the oven to 180C / 160C fan
- mark a piece of baking parchment with a rectangle the same size as the bottom of your mould (in this case 25cm x 9cm)
- sieve the icing sugar and mix with ground almonds
- whisk the egg whites until stiffening and then whilst the mixer is still going add the sugar one spoon at a time until stiff
- fold the flour, almond & icing sugar mixture into the egg white
- spread or pipe over the baking parchment making sure you go over the edge of your rectangle
- sprinkle with your chopped almonds
- lightly dust with icing sugar
- bake for 15 to 20 minutes
- allow to cool
- cut back to the rectangle size you need (25cm x 9cm)


White Chocolate Raspberry Mousse
- 300g raspberry puree (you need 600g of fresh raspberries to to get this quantity)
- 50g caster sugar
- 160g white chocolate, finely chopped
- 4 sheets of gelatine
- 230g whipped cream
- 125g fresh raspberries (small ones so you might need to buy more)
The Method
- soak the gelatine in a bowl of cold water
- put the white chocolate in medium sized bowl
- puree the raspberries by pushing them through a sieve
- add the sugar to the puree in a pan and heat to 60C
- squeeze the excess water out of the gelatine and add to the puree
- pour the whole mixture over the white chocolate and stir until the chocolate is melted
- blend using the hand mixture to take out any final lumps
- whip the cream to soft peaks
- fold the cream into the chocolate raspberry mixture once the mixture is no hotter than 30C
First Assembly
- fill the mould with the raspberry mousse to about 2cm below the rim
- press in the raspberries in neat rows (about 8 or 9 rows depending on the size) leaving the tops showing
- drizzle mousse into the hollows of the raspberries (you should be able to do this with a teaspoon or use a piping bag)
- press the dacquoise slice in so it is level with the top of the mould – some mousse may ooze out, just wipe this away
- wrap in cling film and freeze overnight


Glazing
- 5 sheets of gelatine
- 125g liquid glucose
- 63g water
- 125g caster sugar
- 83g condensed milk
- 125g white chocolate finely chopped
- Christmas red gel colouring
The Method
- soak the gelatine in a bowl of water
- put the chocolate in a bowl
- put the glucose, water and sugar in a pan and heat to 105C
- take of the heat and add the condensed milk
- squeeze the excess water out of the gelatine and add to the hot mixture and stir until dissolved
- pour onto the chocolate and stir until the chocolate is all melted
- add food colouring to desired colour
- blend the mixture together thoroughly using a hand blender making sure the blender never comes above the surface
- pour through a sieve
- put clingfilm on the the surface and allow to cool to 35C


Final Assembly
Glazing the Mousse
- pop your mousse torte out of the mould – this can be a little tricky and it is important it is frozen solid before you do this
- place it on a wire rack over a lipped baking tray on smaller items so it stands high of the rack
- take the glaze and pour one more time through a sieve into a jug
- pour the glaze confidently over the torte making sure it is fully covered
- allow to set slightly and clean up any drips around the bottom
- put your mousse onto your chosen serving dish


Finishing the Alpine Topper
- push your pannacotta out of the mould – again it must be frozen solid
- spray with White Velvet Cocoa Butter Spray
- spray this with the Pearl Lustre
- place the topper carefully on the Torte


Allow 2-3 hours for the mousse to defrost at room temperature and enjoy!

Deine Torten sehen wundervoll und perfekt aus! Ich wünsche dir einen tollen Silvester Abend und ein genussreiches neues Jahr 2018
LikeLike
Danke Maren – und alles wegen Ihnen. Sie sind eine inspirierende Bäckerin! Happy New Year (an hour earlier than us !)
LikeLiked by 1 person